Become a Patron!


Spearwives Unit Box United States Giveaway!
 |
| by CMON Games |
"You Came to Us as Outlaws, Poachers, Rapers, Killers, Thieves... All That is in the Past..."
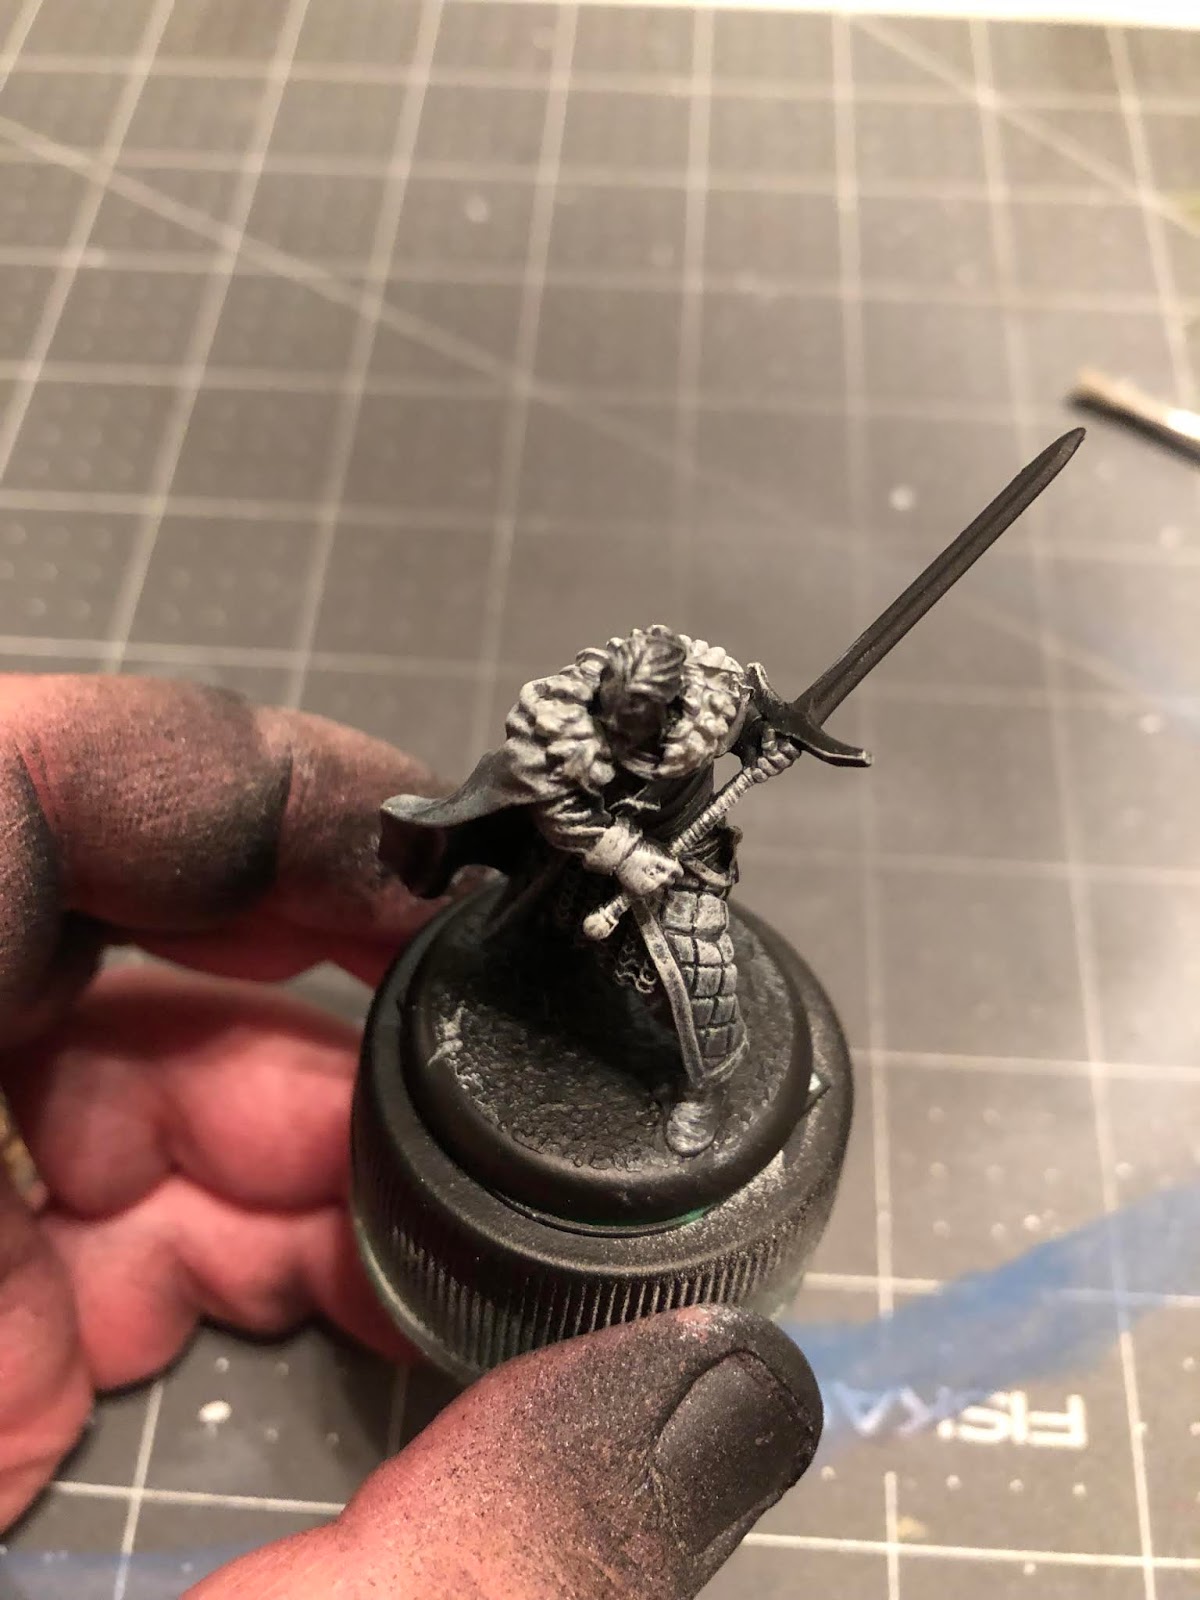
Welcome back, Westerosi! Today, we're going to start painting up the main Unit for my faction of choice, the Night's Watch. Today, we're looking at the Sworn Brothers.

Just like Lord Snow, our biggest concern with the Sworn Brothers is the fact that we're going to try to make the color scheme a little more interesting than simply black on black on black...
That said, we will definitely be taking advantage of said monochromatic color scheme in order to speed through these foot soldiers as quickly as possible. Well, without further ado, let's get going.
1. Gameplan, Prep, and Prime
So, normally, I try to base my paint jobs on the look of the HBO series as much as possible, but that's not really much help for the Sworn Brothers, since most of the Night's Watch look like they're going to some kind of medieval goth concert. And frankly, the in-game art isn't much better.

We can see there are some browns, but overall, it's still pretty much black and blacker, so I'm going to try to incorporate some different colors into the hilt of the sword and the hair and beards of the brothers.

I was told by one of my readers that I should be more specific with my listing of paints, so I'm going to try that, but if you guys don't like this, please let me know:
Vallejo
The Army Painter
Hand Made Modern (From Target)
Slate (Standard Grey), Elephant (Light Grey)
Ceramcoat
Black, White
We won't be using all of these colors on each model, as the chocolate brown and dark sand will be use for making a blond and dark brunette Sworn Brother each, so you could do away with those if you don't want to differentiate their hair.

To help make this easier, I do recommend priming black, as that'll do most of the heavy lifting for you. I used matt black spray on primer by The Army Painter, but you could use white if that's all you had, just give the whole mini a quick black basecoat before we get started.
2. Basecoats
In case you're new to the blog, remember, you should always thin your paints with equal parts water, unless I tell you otherwise.

The first thing we're going to do is help distinguish certain portions of the clothing from others. Mix up a 50/50 mix of black/white (thinned with equal parts water, of course), to get a SLIGHTLY lighter shade of black. Use this mix to paint the outside of the cloak, the gloves, the boots, and the skirt of the figures. You can see the difference between the black/white mix and the pure black sections.

After that, take some of your slate or standard grey and paint the fur portion of the cloak. Don't forget that some of it also comes over the shoulder to the front of the figure as well.

Once that's dry, take your wedge or chisel brush and your slate/standard grey and give the whole figure a good drybrush. Remember, when you drybrush, you don't thin your paint at all, and you actually don't want much on it at all in the first place, so wipe the brush on a cloth or paper towel until there's barely any left on there.
When you do drybrush, you want to go against the grain of the figure, so the details catch the little remnants of paint from the brush.
When you're finished with that, you'll be doing another drybrush with your elephant/light grey, but you'll only be doing the top of the figure. Similar to how you see it above, look at the figure from the top down and drybrush all the sections you can see. This will already start to create depth and highlight from the two different tones of drybrush.

Next, we'll be painting the face with basic skin tone. Since basic skin tone is pretty light, and we've primed in black, you may have to do a few coats of this in order to get the coverage even.

Now, we'll take our hull red and paint the leather details of the figures, in order to break up all of the black. Paint the belts, the straps and sword wraps for the above model, and the handles of all the swords.

After that, get your plate mail metal, but don't thin it so it'll cover the black primer better, and paint the blades of the swords, the belt buckles and occasional metal studs in the belts, and the small amount of chainmail on two of the three sculpts. The model above has it around their waist, while another has it sticking out from his sleeves.

Next, using your copper, which you should also not thin, paint the hilts and pommels of the swords. Nothing fancy here, just try to get as even coverage as you can.

The last thing we'll be basecoating will be the hair and beards, and you can use whatever color you like, but I used dark sand to create a blonde, chocolate brown to create a brunette, and the 50/50 black/white mix to create a brother with black hair, in order to give the figures some diversity.
When you're painting the beards, make sure you leave a the lip skin colored, as small details like that are what help elevate your paint job.
Once everything's dry, we can move onto shading!
Once everything's dry, we can move onto shading!
3. Shading
Okay, so for these guys, we're going to be using three different washes by the Army Painter:

Flesh Wash, Strong Tone, and Dark Tone.
We're going to start of with flesh wash.

Apply the strong tone to the faces of the figures, but don't let it pool too much around the eyes. Just enough to add depth to the skin.

Then, apply the strong tone to the fur. This will not only darken it and add depth, but it because it's strong tone, there's a hint of brown in it, and will make the fur look a little dirty and weathered.

If you've made a blonde Sworn Brother, like me, I'd also recommend applying the strong tone to the blonde hair and beard, as it helps create a much more natural looking blonde.

After that, we come to the lion's share of the shading. Take your dark tone and apply it to everywhere else. Not only will it shade things like the brunette's hair and their swords and belts and whatnot, but it'll also mute the colors that you drybrushed on earlier, while helping to blend it all together.
When this dries, this should leave us with a much more subtle, but still dynamic highlight to our all black soldiers.
4. Highlights and Finishing Touches
So, what's awesome about these guys, is that we already did most of the highlighting when we drybrushed, however, there are still a few details that we'll need to highlight in order to make them pop.

Start with the face. Using your basic skin tone and your smallest brush, apply it to the forehead, nose, and cheekbones of the face in order to highlight it up and bring attention back to the eyes.

The next highlight should be the hair. Applying a top down highlight, like shown above, and avoiding where the hair parts. I used dark sand for the blonde, and added another bit of white to the chocolate brown and black/white mix for the other two models in order to get a slightly lighter color to help the highlight pop.
This would also be the best time to add eyebrows using whatever color you're highlighting with.

Now, mix some dark sand with your hull red and use your detail brush to add just the SLIGHTEST, SMALLEST highlight to the leather. This will usually just consist of a thin line running across the top of the belt, or where the belt folds outward at the belt buckle.
This highlight is completely optional, but can help break up the monochromatic look.

This next portion is also completely optional, but this slight weathering can really help sell an effect. I use Vallejo Dark Earth Gel to apply a little bit of dirt/mud texture to the bottom of the cloaks, both inside and out. I spoke about this technique previously in my Jon Snow tutorial and we're doing it again here.
The application doesn't have to be even, in fact, you actually want it thicker at the bottom and getting cleaner as it moves up the cloak. Just don't go on too thick. It should just be enough to give the cloak texture and color, and not look like gobs of mud.
5. Be the Sword in the Darkness!

That's it, guys! Spray them with your matt spray and base them however you like. These guys are so quick and easy, you should be able to easily blow through a whole unit of these suckers in a couple of hours!
Like always, this, along with all my other tutorials for A Song of Ice & Fire can be found here, and if you found this helpful, please consider becoming a Patron! Every dollar helps bring you quality content on a weekly basis. Also, if you're reading this before the end of March 2019, scroll down to the bottom of the page for your chance to win a FREE Unit Box of Free Folk Spearwives!
Thanks for reading, and when you're looking at your legions of unpainted minis, remember to tell yourself "Just start painting!"
Remember to Share, Comment, and Subscribe!
Comments
Post a Comment