Become a Patron!


... Grenn...

... And all your favorites...

So, for all of these "Heroes" I've assembled the following paints:


For Pyp's bow, you'd highlight it the exact same way as the hammer handles, with just a line alongside the back of it, following the curve up.


 |
| by CMON Games |
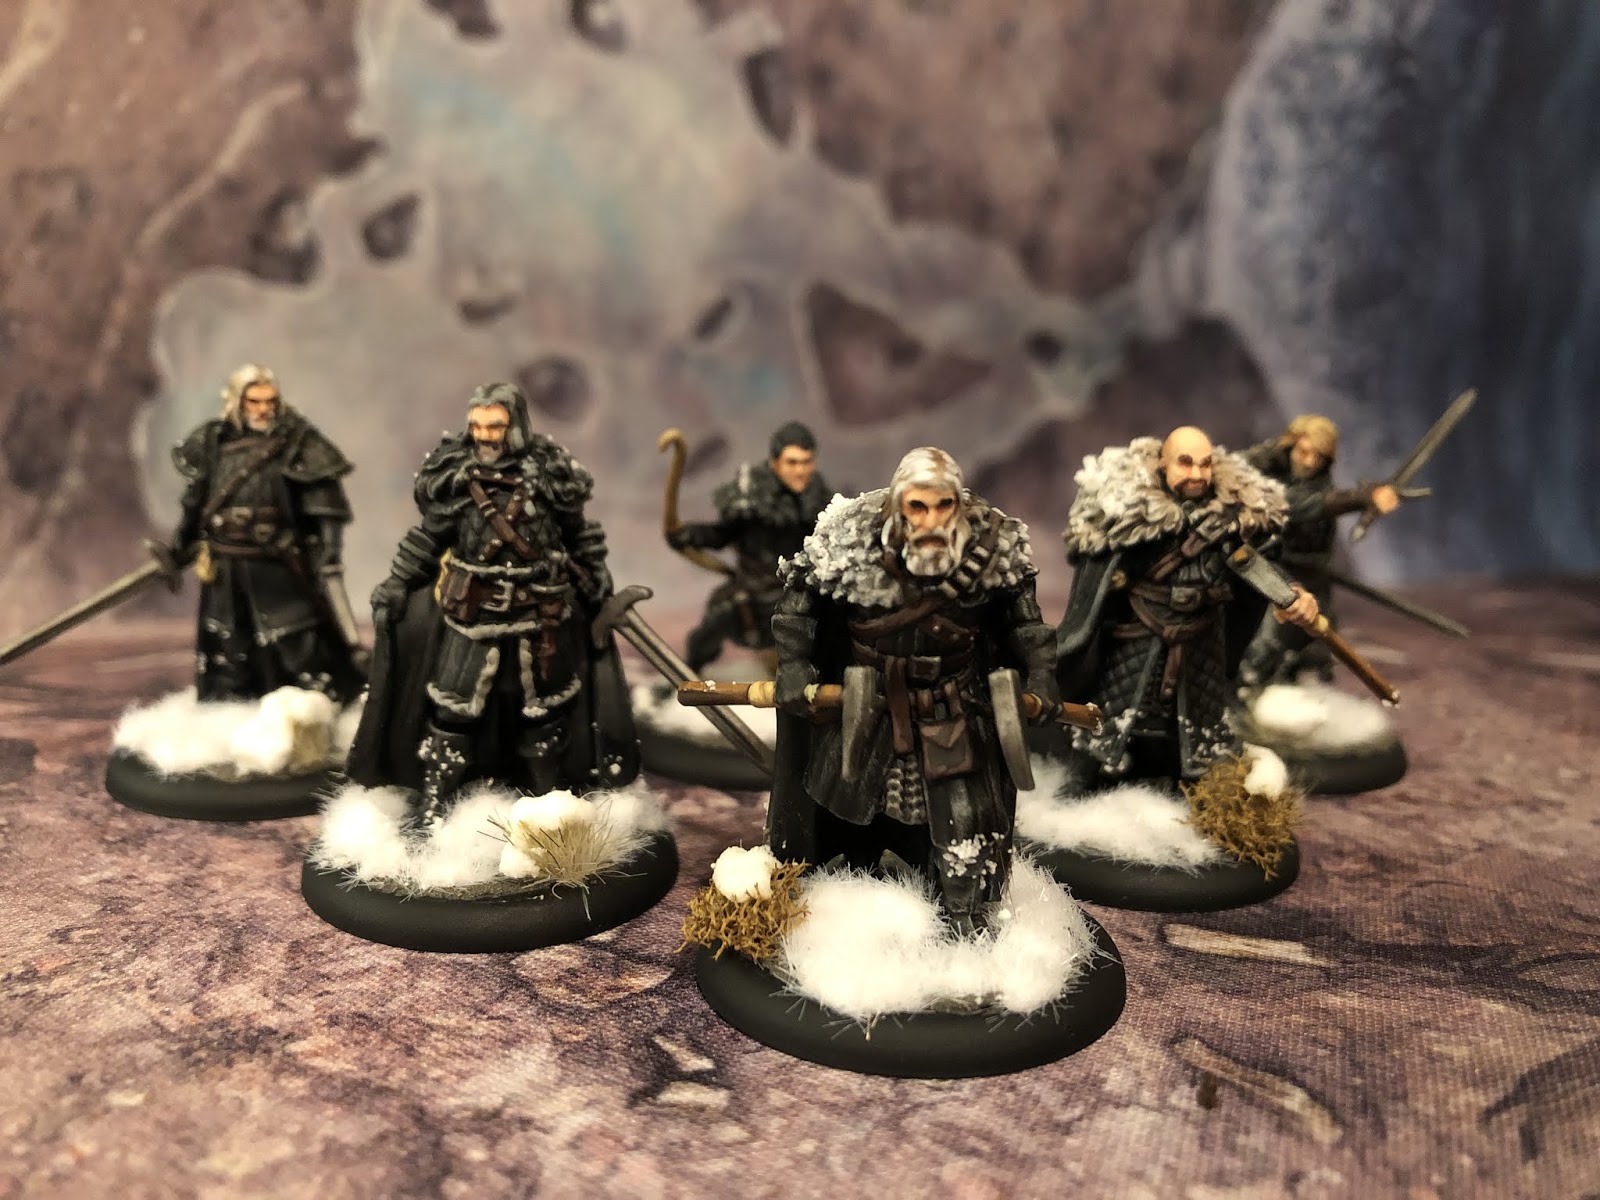
The Dirty Half Dozen
Okay, so today, I’m going to do something you’re either going to really like, or REALLY hate. As some of you know, the main faction that I play is Night’s Watch. I normally play as Jon Snow, but I always love a good Heroes Box to open up the Commander options. So, as I cracked open that sucker and looked at Grenn and Pyp and Alliser Thorne, I realized, they all look pretty similar to each other in regards to their paint jobs.
So, I had to make a decision: Do I drag this out over the course of six weeks and give my readers the same tutorial six times, or do I just do it all at once...
Take a wild guess at my choice...

So buckle in, y’all. Let’s get to it. You might not get as much detail as we normally have with our tutorials, but we’re gonna get a lot done today!
1. Gameplan, Prep, and Prime
Okay, so if you’ve read any of my tutorials, you should know by now that I try to base my paint jobs off of the HBO series whenever possible, so we’ll be drawing color inspiration from the actors portraying Pyp...

... Grenn...

... And all your favorites...

So, for all of these "Heroes" I've assembled the following paints:

Vallejo
Army Painter
Ceramcoat
Black and White
Hand Made Modern
Slate (standard grey) and Elephant (light grey)
Obviously, we're not going to be using all of these colors on every model, but between all of these suckers, we should have everything we need to basecoat the whole Heroes 1 box.

I've primed them all with matt black spray on primer by The Army Painter, just like I did with my Veterans and Sworn Brothers. Once that's all dry, it's time for basecoats!
2. Basecoats
We're going to start off exactly the same as what we did for our Veterans and Sworn Brothers by mixing up a 50/50 mix of black and white (thinned with equal parts water, of course) and painting some key areas of each model.

Typically, this is going to be the tunic and the outside of the cape, possibly even the gloves, if that character is wearing any. You can see it gives those areas a SLIGHTLY lighter tone than the rest of the mini, which helps break up the monochromatic look.

Once that's dry, we're going to drybrush on some standard grey, which you should have seen in previous Night's Watch tutorials...

Before drybrushing on some light grey, but only focusing on the upper extremities of the model, like the arms, face, and any knee or part of cape that would catch sunlight from above.

After that, you'll take your basic skin tone and paint the faces and hands (of those not wearing gloves). This is a fairly light paint, so make sure that you apply a second layer of this after the first has dried to get a good clean coverage.

Then it's time to paint the fur. It really depends on what color you'd like to make them wear. Donal Noye and Othell Yarwick both wear white in their card art, but you could also give some of them some brown fur to differentiate them as well. If you did a good job drybrushing earlier, you can even leave it like that for a black fur that's already highlighted.

Next we're going to move onto the hair. You can paint the hair whatever color you like, but I'm going to show you a trick for creating a natural gradient for characters like Grenn, who in the HBO series has some dark reds along with some blonde mixed in.
Paint the hair with your orange brown, and while it's still wet...

Paint over that on the very top of the head with your dark sand, leaving everything but the very top the original brown orange. This creates a nice natural gradient from blonde to orange, and since they were both wet when you applied them, they'll blend together fairly easily.
I use the same technique with Alliser Thorne, but with dark sand as the base, and when white on top, to give the illusion of a blonde going grey...

You can also take this time to paint the facial hair of you models. For Donal Noye, painting on a goatee in hull red just about matched the card art exactly. For this, use your detail brush, and don't focus on getting underneath the nose, but focus on pulling the paint in a goatee shape, starting from the nose and bringing it down onto the chin. Don't be afraid to repaint with your basic skin tone and start over if you mess up.

Since you've got your hull red out, you can paint all of the leather portions of the heroes with this color. The handles of the swords, the scabbards, the belts, and for Grenn, this also means the bracers around his wrists.

After that, you can paint the excess fur on the front of the Halfhand and Grenn whichever color you like. I chose white and standard grey respectively.

Moving onto the weapons, take your orange brown and paint the handles of the hammers that Yarwick and Noye are holding. Just like your skin, this is a pretty light color, so make sure you apply two basecoats to get a good strong color.

Next, take your dark sand and paint Pypar's bow and arrows sticking out of his quiver on his back right hip. Again, this is a lighter color, so be prepared to apply multiple coats once the first dries completely.

You'd also paint all the other lighter tan details this color as well, such as the wrappings around the handles of the hammers, Noye's bandaged stump of a right arm, or the coin purses dangling from Halfhand and Thorne's belts.
Once that's done, take your plate mail metal and paint all the metal of the heroes. This would be hammer heads, belt buckles, studs in belts, sword blades, hilts, and pommels. For Noye and Yarwick, this also includes a little bit of chain mail that's sticking out from underneath their tunics.

As we finish off with basecoats, now would be the best time to add any extra bits that you want to help differentiate the looks of the heroes. For example, I painted the shoulder pads of Thorne with gunmetal grey, as there are many scenes in the HBO series where he's wearing pauldrons (shoulder armor) and I wanted to simulate that look.
Once that's all dry, however, it's time to move onto shading!
3. Shading
So, again, we're not going to use all of these washes on each mini, but with all of these, we should have it all taken care of...

Flesh Wash, Dark Tone, Soft Tone, and Strong Tone all by the Army Painter.

Start off with flesh wash on your skin. Faces, hands, that sort of a thing. Just a thin layer will work, and don't let it pool up too much in one place.

After that, apply a wash to all the hair. For Donal Noye's white, I used strong tone to add some brownish tint to his grey hair...

But for Grenn and Thorne, I used soft tone to keep the hair looking a little lighter. More specific instructions for other specific hair colors can be found in my other tutorials such as Catelyn and Bran and Hodor.

Keep that soft tone handy, though, as you'll also use this to shade the wrappings of the hammers, the tan coin purses, and Pyp's bow and arrows.

After that, you'll be applying the dark tone to everywhere else that's hasn't already been washed, so the weapons, the belts, what little armor they have, and all over the main body of the figure. This helps mute all of the drybrushing and helps blend it all together.

You may also want to use strong tone on the fur, just to create some tonal variation between the figures.
4. Highlights and Finishing Touches

Just like we always do, we're going to start by highlighting the skin and face with your basic skin tone. For the face, just paint the nose, cheekbones, and forehead. For Grenn and Pyp specifically, also highlight the very bottom of the chin, and if you're really feeling brave, you can highlight the top of Pyp's ears.

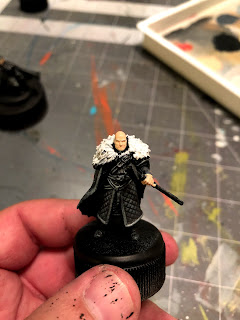
I wanted to show you Thorne, because he's got a TEENY TINY scar that runs across the middle of his forehead, so do you best to avoid highlighting that, leaving it darkened, just so you can get that little extra level of detail to show through.

And for Donal Noye, I wanted you to see how I bring the highlight across the top of his head, all the way to the back and a little to the sides, but it's still mostly on the top of his head.

Next, we'll highlight the hair and facial hair. Simply use the color that you basecoated with and paing the top portions of the hair, avoiding where the hair parts on the top of the head. For Grenn and Thorne, if you used the two tone blending technique I described earlier, you'll want to highlight with the second color, so dark sand and white respectively.
For the beards, you can be a little haphazard in your selection of portions of beard and mustache to highlight, as little gaps between the highlight can give the effect of a graying beard.

After that, take your orange brown and paint a line of highlight alongside the top of the hammer handles before taking your dark sand and highlighting the tan bits, such as the satchels, or the wrappings around the handles.
For Pyp's bow, you'd highlight it the exact same way as the hammer handles, with just a line alongside the back of it, following the curve up.

Now, take some of that dark sand and mix it into your hull red, to lighten up your hull red, about a 50/50 ratio, and highlight all of the leather by painting a thin line alongside the top of the belt, scabbard, or whatever else it may be.

One of the last things you can do to highlight your guys is to dry brush a little of your original basecolor on the fur. This is mostly for the furs that were originally painted white, but if you painted any of them brown, you might want to do this with dark sand as well.

A final optional finishing touch will be using some blue tone wash and some dark tone wash to give Grenn a five o'clock shadow, like he has in the HBO series. To do this, simply mix in one drop of blue tone, one drop of dark tone, and about five or six drops of water. Mix this up, then paint the bottom half of Grenn's face. You may remember this technique when we did it with Ramsay Snow.
Again, completely optional, but I think it's a nice little detail to include.
You can finish up by adding some Vallejo Dark Earth to the bottom of the back of the cloaks, just like we did with the Sworn Brothers, and you're all done...
5. Defend the Wall!

That's it, Westerosi! Hopefully this tutorial all made some amount of sense to you, even if it was a little all over the place. As always, this, along with my other tutorials for A Song of Ice and Fire can be found on my blog, but if you found this helpful, I humbly ask that you consider becoming a Patron. Every dollar goes towards me being able to provide you with quality ad-free content.
And don't forget, if you're reading this before September 15, 2019, there's still time to enter my first ever Painting Poorly Painting Contest, where the winner gets a brand new Free Folk Starter Set! Find out how to enter here.
Until next time!
Comments
Post a Comment