Become a Patron!


 |
| by Monolith Edition |
Gotham City Ain't No Boy's Club...
Barbara, Barbara, Barbara... What a journey you've had. First you were the only female member of the Bat-Family, beloved by millions of fans everywhere. Then you were paralyzed in the highly controversial (but I will say AWESOME) Batman: The Killing Joke by Alan Moore, but she not only arose from the proverbial ashes of that bullet to the spine to keep fighting crime, only this time with her mind as she became another beloved member of the Bat-Family, Oracle, becoming something of a pop culture icon for disabled individuals.
Now, with a few continuity reboots in the books, Barb is back in the cowl and fighting crime with both brains and fists as Batgirl once again.

So, today we're going to paint the first daughter of Gotham (and, well, Commissioner Gordon if you REALLY want to get technical about it). Let's jump in!
1. Gameplan, Prep, and Prime
Okay, so based on the in game art/sculpt of the figure, it looks like Monolith designed Barbara to look like how she did when she was reintroduced as Batgirl in the New 52 reboot.

I prefer her Burnside purple leather, over this crime against suffrage, but whatever.
I'm assembling the following paints to help paint her up:

Vallejo
Basic Skin Tone, Bright Orange, Red
Handmade Modern
Goldenrod
Ceramcoat
Black and White
But before we start any of actual painting, or even priming for that matter, we have to address the HORRIBLE gap between Batgirl's cowl and chest. Normally, I don't care that much about that sort of thing, but it was BAD. So, I'll be using this:

Liquitex Matte Medium.

It's pretty simple to use, just brush a little bit of this in the gaps on the figure until it creates a smoother transition between the pieces of the figure.

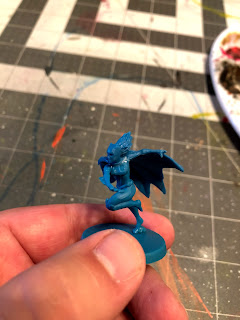
When that's completely dry, you can spray it with your matte white spray on primer and get ready for basecoats.
2. Basecoats
So, the first thing we're going to start with is some of the lighter colors first and move onto the darker ones later.

Starting off with your basic skin tone, thinned 50/50 with water, like you should ALL your basecoats, and paint the eyes and mouth. Nothing too fancy here, just try to get even coverage of the color.

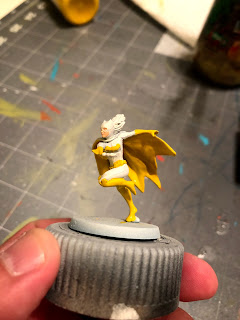
Next, you'll take your goldenrod and paint the underside of the cape, boots, gloves, belt, and bat-symbol on the chest. You'll probably want to apply two coats of yellow because it can be difficult to get even coverage with the color.

The next part we'll have to be quick. Take your red and paint Barbara's hair, and WHILE IT IS STILL WET, take your bright orange and paint the top of her hair, while leaving the underside of it red.

The fact that both are still wet when they're applied on top of each other it will help them blend together for a natural gradient look.
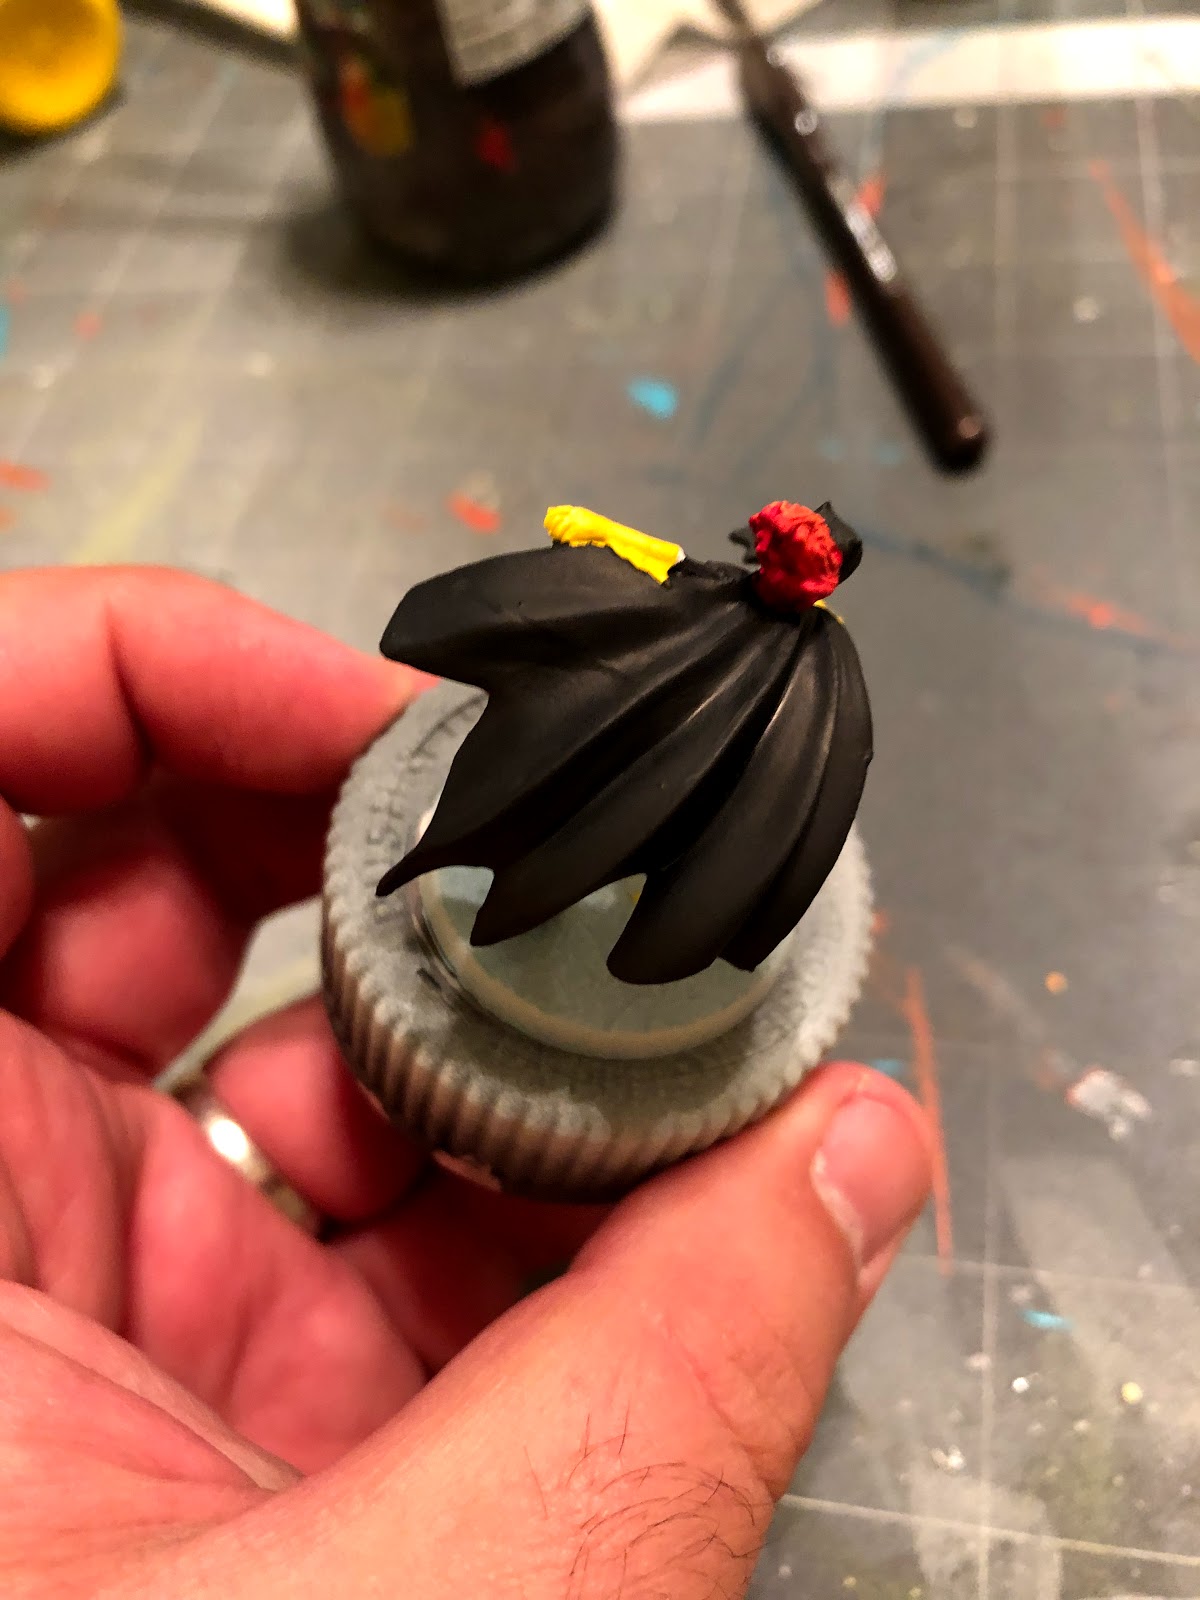
After that, mix up a 50/50 mix of black and white and start painting all of the spandex. Go section by section so that you make sure that you cover everything. I started with the cape before moving onto the rest.

Slowly make your way through the rest of the model, even the batarang. The hardest part will be the cowl, specifically the portions below the eyes on the cheeks. For this portion, use your finest brush, and don't be afraid to pause to reshape your brush or repaint the skin portions.
Once that's all dry, you can move onto shading.
3. Shading
Alright, let's get some depth on good ol' Babs.

We're going to be using Purple Tone, Soft Tone, Flesh Wash, and Red Tone, all by the Army Painter.

The first thing we'll be shading is the skin with the flesh wash. Don't go use too much, but don't worry about it getting on the mask, it won't show up.

Next use your red tone on the hair, both for the orange top and the red portion underneath.

After that, apply some soft tone to all of the yellow portions of the model. Again, not too much to worry about, just apply a thin layer and try not to let any of it pool up in one portion.

Lastly, we'll use the purple tone on all of the black portions of the costume. This will help give it some hints of that Burnside purple that I like so much.
Once it's all dry, it's time for some highlights.
4. Highlights and Finishing Touches

The first thing we'll be highlighting will be our skin. Take a little basic skin tone and highlight the chin, nose, and cheeks of Batgirl.
At this point, you can also take some of your red and paint her lips. For that, aim between the two lips. That should get the red color evenly between the upper and lower lip.

After that we're going to be highlighting the yellow portions with your goldenrod. Just a little along the tops of each glove and the toe of the boot, along with each calf and the back of each heel.
Okay...
So brace yourself for this next part, because we're going to be doing some more in depth highlighting. We're going to be adding another drop of white to our 50/50 black/white mix to lighten it up a little, before adding our first highlight.

I've colored the sections you'll want to highlight in blue. Here's an idea of the cape, and here's an idea of the front:

And the side:

Notice the highlight on the rib cage below the bat insignia.
Next, you'll add in another drop of white, to lighten the mix even more, and we're going to be painting a smaller portion of the highlight we just painted. This second level highlight will be colored in green on my examples of the cape:

The front:

And the side:

Now, for the final highlight, we'll be adding another drop of white to the mix, and highlighting even less than what we just did. These portions will be colored yellow in my example:

The front:

Notice the small highlight on the mask portion of the bridge of the nose and the ears.
And here's the example of the side:

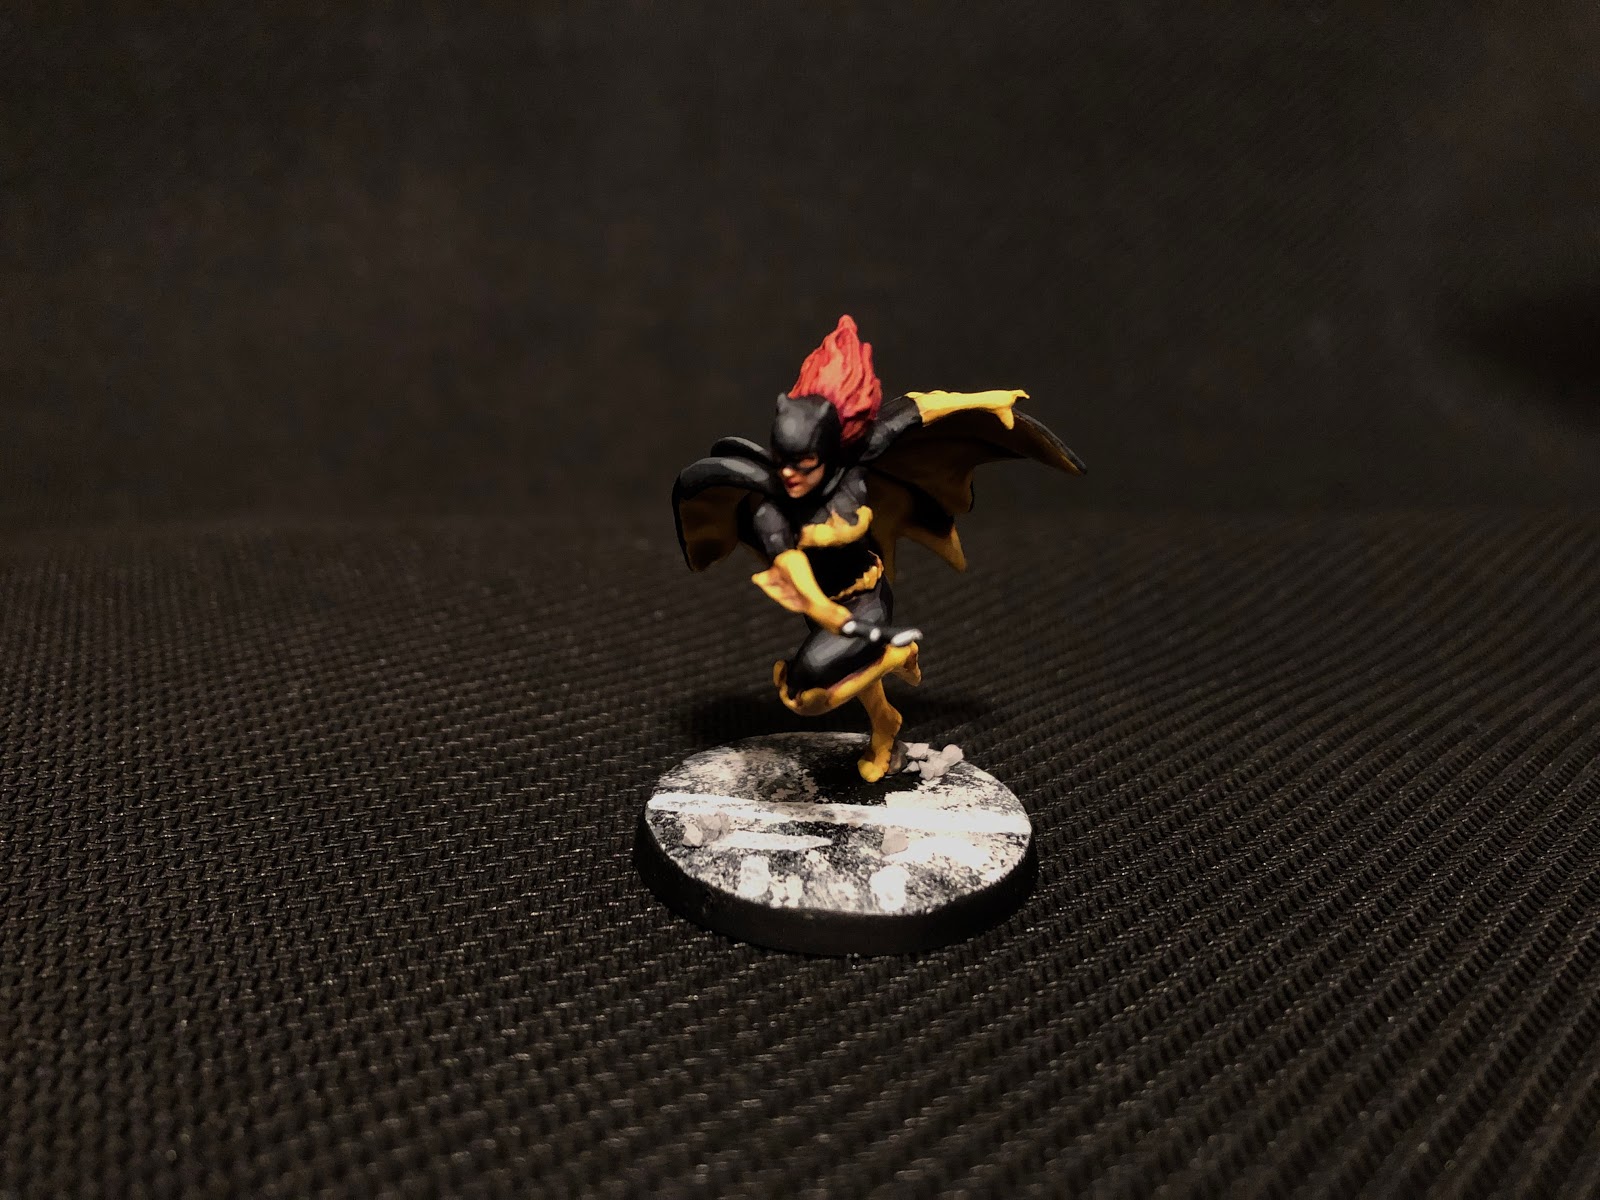
After all is said and done, you should end up with something that looks like this:

You can also add some white to the edge of the batarang to give it a shiny look.
I finished this by basing it similarly to how I based Robin and Red Hood, but I also washed some TINY pieces of printer paper with some dark tone to weather them before I glued them down, to simulate litter.
5. Be a Bird of Prey!
That's it, Gothamites! Now you can have Barb join the fray. As always, this, along with all of my tutorials can be found on my blog in the Batman: Gotham City Chronicles section.
If you've found this, or any other tutorial I've done useful, I ask you to please consider becoming a Patron. And please check out my first ever Painting Competition! You might just win yourself a Free Folk Starter Set for A Song of Ice and Fire!
Comments
Post a Comment