Become a Patron!


 |
| by Monolith Edition |
What's Under the Red Hood?
Hi, everyone! So, as anyone who knows me personally can tell you, there are only a few things that I'm more nerdy about than games, and one of them is COMIC BOOKS.
So, to celebrate two of my biggest nerd passions coming together, I've decided to start a new Painting Poorly series of tutorials for Batman: Gotham City Chronicles by Monolith Edition, and I've decided to start with my favorite member of the Bat-Family, the resident black sheep, Jason Todd himself, Red Hood.

Those of you who have never tuned in before, Painting Poorly is my way of encouraging SUPER novice painters to get into the hobby, using whatever kinds of paint or tools they have available, because at the end of the day, just start painting. I guarantee you it'll turn out better than if you just left it blank plastic.
But there are a few things that go along with that. For instance, the techniques I'll be using will be VERY BASIC, so if you've got a few years of miniatures painting experience under your belt, most of what I'm writing will be pretty obvious for you.
For the rest of you, you novice painters out there, I do encourage you to take a look at some of my previous articles, specifically Volume 1 - The Basics and Volume 2 - Finishing Touches, as they go over some more of the overall concepts that I'll be referencing today.
Well, without further ado, let's get to it.
1. Gameplan, Prep, and Prime
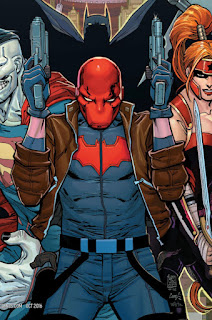
Okay, so the first thing anyone should do when approaching a mini is develop a gameplan. There's nothing worse than flying by the seat of your pants with paint on a brush. I'll be basing my version of Red Hood on the look of the Scott Lobdell's AWESOME Dark Trinity run from the 2016 series Red Hood and the Outlaws:

If you haven't read this series, do yourself a favor and check it out. It's rocking.
Anyway, in order to emulate this look, I've assembled the following paints:

Army Painter
Plate Mail Metal
Vallejo
Flat Earth, Orange Brown, Gunmetal Grey
Tamiya
Clear Red
Ceramcoat
Black and White
Handmade Modern (Target Brand)
Elephant (light grey), Slate (standard grey), Goldenrod (yellow)
Obviously you don't HAVE to use these name brands if you don't want to, and a basic red will substitute the Tamiya Clear Red if you're looking for a more traditional looking red helmet, but I'm showing you guys what I did.

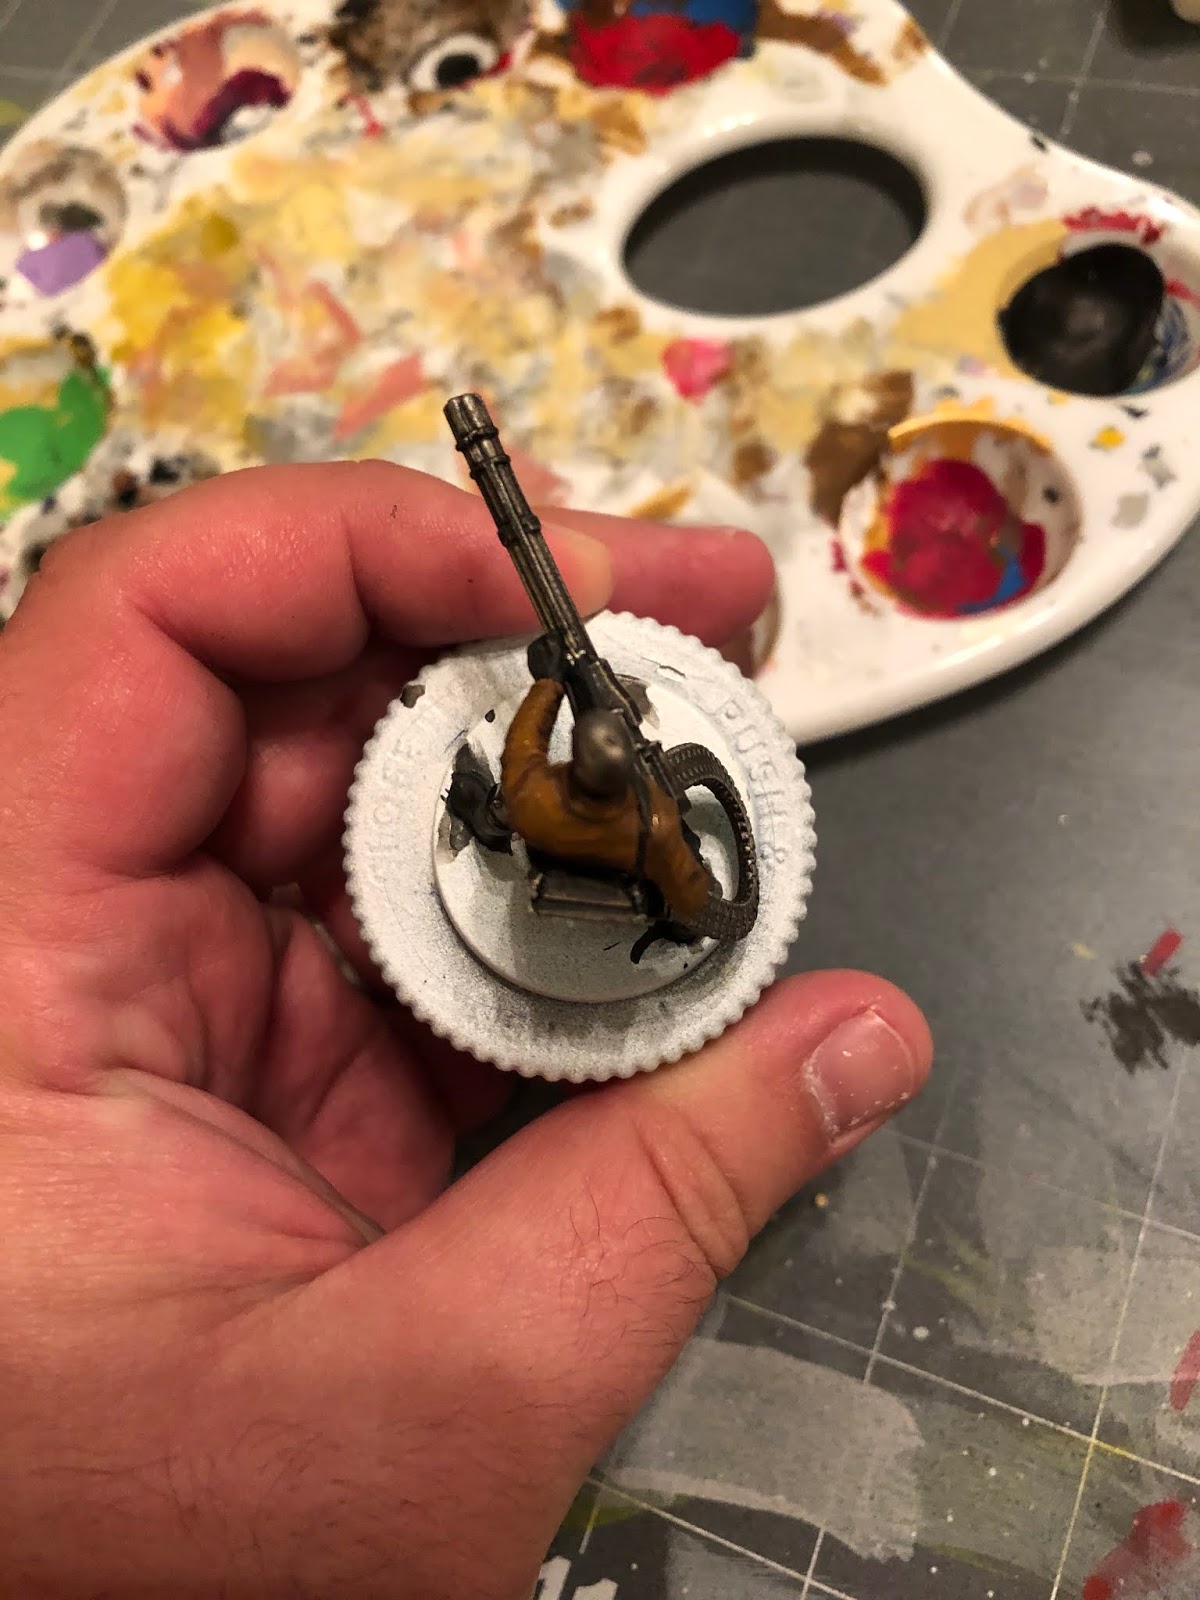
I've gone ahead and used to sticky crafters putty and stuck the figure to the top of a prescription pill bottle so that I wouldn't be holding it by the base as I painted as a way to better control it.
I've also primed the figure with matt white spray on primer by The Army Painter. I do recommend spending the money on primer that's made for miniatures as it drives tighter, showcasing more details, and generally holds paint better than the cheap stuff.
Remember, when you're priming the figure, you want thin coats from multiple angles to get even coverage, and you're not trying to completely color the figure white, just give the paint something to hold onto other than slick blue plastic, so it's okay if a little blue shows through, especially in the nooks and crannies.
2. Basecoats

In general, you want to thin all of your paints during this stage and the highlight stage with equal parts water. So, what's actually touching your mini should be 50% paint and 50% water. Thinning the paint will help the paint actually go on smoother and prevent it from picking up brush strokes or gunking up the details, such as all the little folds in Red Hood's clothing.
I started with the standard grey. Paint his legs and part of his chest that is exposed underneath his jacket. If you don't get completely even coverage with the first coat, allow it to completely dry and then add a second. Multiple thin coats are better than a single thick coat.

Next, take your flat earth and paint the jacket. As you can see, with the paint thinned, you can really see the details of the jacket, and get a good sense of where the highlights should go, however, if it looks too thin, again, you might want to go back over it with a second coat once the first dries.

With metallic paint, I typically don't thin the paint at all, because you usually want some pretty strong colors on the metallic portions, and for metallics, like the primer, it's worth spending money on the good stuff as the craft store metallics just don't have the pigment that the good stuff has.
That said, you'll want to take your gunmetal grey and cover these portions of the minigun, the main chassis, and the circular banding holding the barrels together.

You'll also want to paint the ammo box on his back this color as well.

Now, taking your plate mail metal, you'll paint the barrels of the minigun, the ammo feeding into it, and *shocker* Red Hood's head.
If you're not planning on using the Tamiya Clear Red, you should just paint his head red at this point, but if you are following along, we're going to use the metallic undercoat to give Red Hood a red lacquered metallic helmet. Think Iron Man's armor or a metallic red car.

After that, mix up one drop of your black paint with one drop of your white paint (and two drops of water to thin it like all the other paints) to get a REALLY dark grey which looks almost black to paint his gloves, boots and straps of the minigun.
You typically don't ever want to use ACTUAL black when you're doing basecoats as it doesn't leave you anywhere to go when you're shading the figure.

Don't forget to paint the strap over his right shoulder this same color as well.
Once that's all dry, we can move onto shading!
3. Shading
So, in order to give your basecoats some depth, we're going to use washes, or shades, which are like REALLY watery paints that seep into all the little nooks and crannies and help create the illusion of shadow on a figure.

We're only going to be using two today, though I do recommend you spending the money on a complete set of these bad boys on Amazon, as making your own at home can be a pain. We'll be using only two today: Strong Tone, which is a dark brown wash, and Dark Tone, which is a black wash, both made by The Army Painter.

Washes and shades go DIRECTLY on the model, DO NOT THIN THEM WITH WATER, and you'll really only need about one to two drops of each.
Start off with your strong tone, and apply it directly to the jacket. You just want a thin layer over the sculpt, without letting it pool too much in any one place. Just enough to help deepen the creases in the jacket.

Next you'll apply the dark tone to everything else. Just enough to darken all of the nooks and crannies. Don't let it pool too much around the knees or the bottom of the ammo belt, so you can use a spare brush to soak up some of the excess wash.
Once that's all dry, we can move onto highlights!
4. Highlights and Finishing Touches

After the wash is dry, you'll notice that all of the basecoats have been pretty muted, so that's why we highlight afterwards, to bring the figure's color back up and make it pop.
Taking your standard grey, you'll want to highlight the legs of Red Hood, specifically, the muscles. Try to paint the center of each muscle and the knee, pretty much anywhere that's popping outward, and avoiding any recesses that were darkened by the washes. This helps create depth.

For the right leg, mainly focus on what you can see from the side, as much of it is obscured by the minigun and ammo belt anyway, so there would be strong shadows cast upon it regardless.
After that, we're going to apply what I like to call "Top Down Highlights" to the jacket. This is done by holding the miniature at a bird's eye view and literally painting it from the top down.
Using your flat earth, paint the shoulders, upper back, and the top of the left forearm, and right tricep. This alone will create a decent highlight, but we're going deeper to add another level of highlight.

Take that orange brown that we haven't touched until now and your smallest brush, and highlight all the folds in the jacket. This part can take a long time, and really, you don't HAVE to do all of them, but the more you do, the more it'll pop and help give his jacket that leathery look.

Here's an image showing how his left arm turned out after highlighting the jacket folds.
Once you're done with this, mix up your black and white again, only this time, two parts white to one part black to give you an even lighter color, and highlight the boots and each knuckle/tendon in the hands.
Try to focus on the portions of the sculpt that protrude.

This next portion is completely optional, but if you want to make his boots and gloves look like patent leather, you can add a few strong white highlights to them. There's no right or wrong way to do this, so just play around to see what you like, and you can always paint over them and try again if you don't like them.

Moving onto the base, first paint the base black before taking a small piece of sponge, I cut mine from a cheap sponge brush from the craft store. You're going to be using your standard grey to dab on color onto the base before the doing the same thing with light grey. The texture of the sponge should leave some areas that don't completely cover the black base, and this creates a decent approximation to concrete.

Hard to reach areas, such as round the feet or ammo belt, can be touched up with a paint brush, and you can use your goldenrod at this point to add a line to further increase the illusion that Red Hood is standing on a city street ready to open fire.
At this point, paint the rim of the base black, wait for it to dry, and spray it with your matt finish spray. I use Krylon Matt Finish which is about $6 at Joann's Fabrics after a coupon. This will protect the paint job from people handling the mini too much and give it a flat finish.

The final thing you'll do is take your Tamiya Clear Red, if you've chosen this route, and paint the helmet directly, no water. Tamiya Clear Red dries with a glossy finish, so by applying it after we've already sprayed it, we can preserve that shiny quality of his helmet.
If you've got some spare gloss varnish lying around, you can also mix that with some water and apply it to the boots and gloves to help with that patent leather look, if you decided to go that route.
5. Be an Outlaw!

That's it, Gothamites!
I hope you enjoyed this edition of Painting Poorly! This, along with any future tutorials for Batman: Gotham City Chronicles will be available on my blog for you to reference, and if this helped you out at all, I ask you to please consider becoming a Patron. Every dollar helps me keep this blog ad-free and bring you quality content on a consistent basis.
Make sure you check back soon to see which hero or villain I tackle next!
Make sure you check back soon to see which hero or villain I tackle next!
Comments
Post a Comment