Become a Patron!


 |
| by CMON Games |
"Take the High Ground and Win the Battle... No Ground is Higher Than the Wall..."
Today, we're going to look at everyone's favorite member of the Night's Watch: Bowen Marsh.
You know? Bowen Marsh.
Come on... You know Bowen Marsh... I mean, he's BOWEN MARSH.

Yeah, that guy.
Okay, so maybe he's a bit of a non-entity on the show (SPOILERS: they don't even show him after Jon's executed the mutineers, unlike his companions) and you probably have no idea who he is from that, but if you're a player of A Song of Ice & Fire, you SHOULD know him. He is an absolute BEAST of an NCU for the Night's Watch faction.

We'll be painting him VERY similarly to how we have doing the rest of our Night's Watch units, so if you're already familiar with most of those techniques, you may want to skip ahead.
1. Gameplan, Prep, and Prime
Okay, so rather than base my paint scheme on some random dude who's probably back to playing Curly in a community theatre production of Oklahoma! right now, I'm going to be basing everything off of the in-game art.

For the most part, we'll be using the same exact techniques as we did with the Sworn Brothers and Veterans, but we'll be taking a few liberties to make sure he looks like the fat drunkard that he appears to be on his card.

The paints I've selected are:
Vallejo
Hull Red, Dark Sand, Basic Skin Tone, Rose Brown
The Army Painter
Plate Mail Metal
Hand Made Modern
Slate (standard grey), Elephant (light grey)
Ceramcoat
Black and White
You'll notice that I also have Salmon Skin by Vallejo pictured above, but I ended up not using it.

Like so many of my other Night's Watch units, I've primed Bowen with spray on matt black primer by The Army Painter. Once that's dry, it's time for basecoats.
2. Basecoats
So, we're going to be starting off like we always do with the Night's Watch units by mixing up our black and white in a 50/50 mix, thinned with equal parts water, and painting some key elements of the mini this slightly lighter black color.

I chose to paint the gloves, skirt, and cloak of Bowen with this color to give it some color and tonal variation, instead of being pure black.

Now, taking your wedge/chisel brush, drybrush the entire figure with standard grey.
Make sure you get the whole figure, and remember when we're drybrushing, we don't thin the paints, and we want VERY little paint remaining on the brush itself, just trace amounts. We brush "against the grain" as it were to allow the details of the mini to catch some of those traces of paint on the brush.

After that, we can do the same thing, but with our light grey, and only focus on the upper body of Bowen, which will help highlight his upper body and give the illusion that it's closer to a light source (ie. the sun).

Then take some of your standard grey, thinned with equal parts water, and paint the fur. Try to avoid the little shoulder pad on his left shoulder, as we want to keep that black, and don't forget the fur that comes around the front of the chest/shoulders.

After that, take your basic skin tone (thinned with equal parts water) and paint the face, making sure to get the lower lip through the beard.
Because we primed in black, you may have to do a few coats of this to get an even coverage on the face.

So, since Bowen Marsh is First Steward, and Jon Snow was TECHNICALLY a steward and not a ranger, we're going to be doing what we did for him in terms of armor, to provide a unifying theme between all of our stewards.
Take your hull red, thinned with equal parts water, and paint the chest armor, the leather straps between the legs, the satchels on either hip, the weirdo single leather strap on his left glove, and the belt around his shoulders.

You can also pain the leather straps on the back of his boots and on his scabbard this color as well.

Now, take your plate mail metal and paint all the metal studs on his leather straps, his shin armor, the hilt of the sword along with the metal portions of the scabbard and any buckles on his satchels or belts.

You can take this time to touch up his hair and beard with your 50/50 black/white mix if you like as well.

The final thing we'll be basecoating will be the small pouch on his left hip using dark sand. I chose to use dark sand instead of more hull red so there could be a slight color difference between all of the items on his hip.
3. Shading

We'll be using three today: Dark Tone, Flesh Wash, and Strong Tone, all by The Army Painter.

Start off with flesh wash, and just apply a thin coat to the skin to darken everything and create depth.

After that, use your strong tone and apply it to the fur and the beige pouch on Bowen's left hip. Nothing too fancy here, just don't let it pool up too much in either place, and make sure you don't miss any nooks or crannies in the fur.

Lastly, you'll apply dark tone to everything else. The cloak, the body, the pouches, the hair, the sword. If it hasn't already been shaded, use your dark tone on it. This will help mute the drybrushing and help tie everything together.
Once all that's dry, it's time for highlights.
4. Highlights and Finishing Touches

The first thing you'll want to do will be highlighting up the face using your basic skin tone again. Apply it to the center of the forehead, the cheeks, and the ridge of the nose, avoiding any areas where the shade settled and darkened.
Now use your dark sand to highlight up the pouch. Focus on the center of the pouch itself in order to keep the appearance of roundness, along with highlighting where it puckers at it's opening to keep the shape of the bag from becoming some random round thing on his hip.

This next part is completely optional, but if you take your rose brown, and your smallest, sharpest brush, you can stipple on little dots of this color on his cheeks and the very tip of his nose to create a flushed look, like there's blood rushing to it because he's cold or an alcoholic. Again, totally optional.

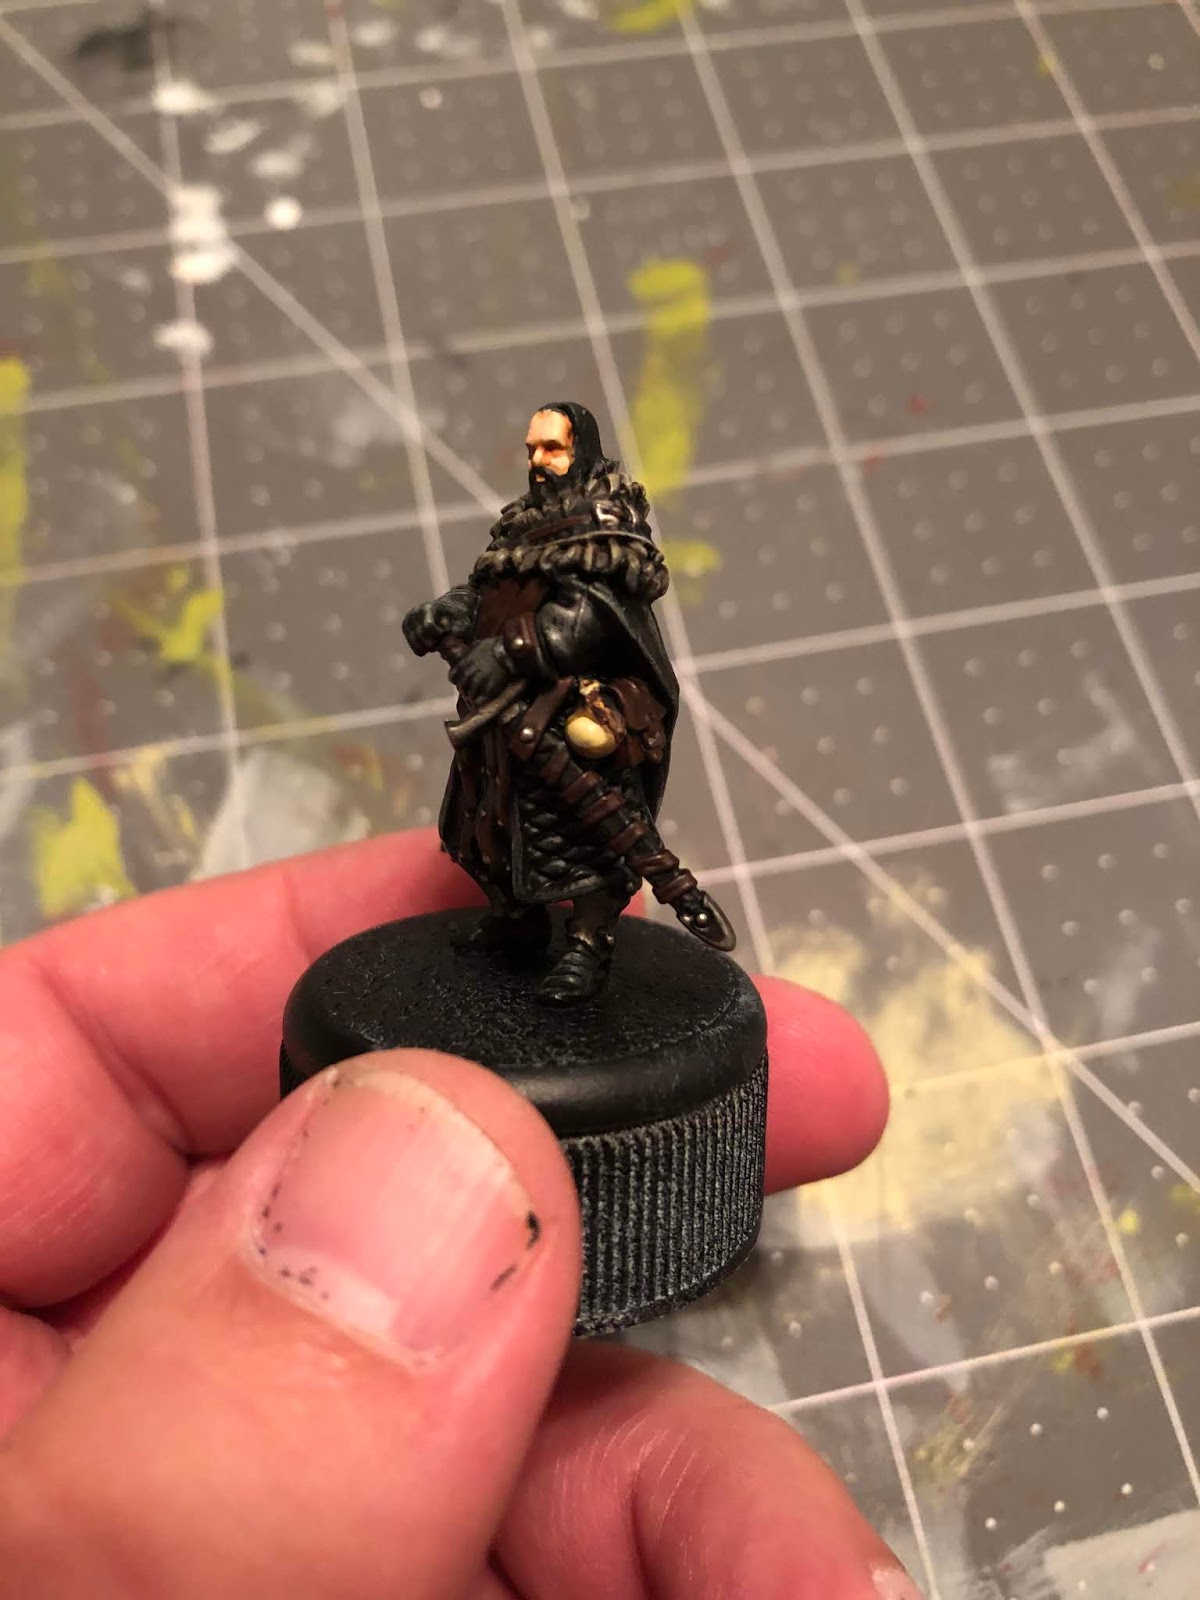
After that, we need to add a little bit of white to our black/white mix and start to apply some top down highlights to the hair before moving onto the beard and adding eyebrows.
For the hair, just hold the figure like shown above, and paint the areas you can see, and for the beard, focus on the portions of the beard that jut out, like just below his lower lip, or underneath his nose on the mustache.

The final highlight that we're going to add is done by mixing a little dark sand into your hull red, and just painting a small line along the edge of the leather portions. Some vertical lines down the leather strips between his legs for example, or along the top of the straps wrapping his scabbard.
5. Count Some Swords and Spoons!

That's it, guys! Another Night's Watch member painted and ready for the battlefield, or tactics board as it were.
As always, Bowen's tutorial, along with all my other Song of Ice & Fire tutorials can be found on my blog for future reference, and if you've felt like you've been helped out by this or any of my tutorials, please consider becoming a Patron. Every dollar helps bring quality content to you, the fans and readers, and keeps the ads away.
Until next time, Westerosi!
Remember to Share, Comment, and Subscribe!
Comments
Post a Comment