Become a Patron!


 |
| by Atomic Mass Games |
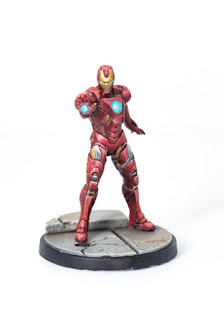
"I Am Iron Man..."
Let's be honest here. Until Robert Downey Jr. put on the red and gold armor, Iron Man wasn't really what we'd call an "A-Lister". Sure, some hardcore comic book fanatics knew he was a big deal, but more people on the street probably just thought he was a robot or something before 2008. But now, here we are, some 12 years later with a bonafide cultural icon.

Today, we're going to be painting ol' Shellhead from the Marvel: Crisis Protocol Starter Set using a few easy techniques that any beginning level painter can do.
Let's get to it!
1. Gameplan, Prep, and Prime
So, I have to have to hand it to Atomic Mass Games, they provide some high quality reference pictures on their website for all of their miniatures.

If you're ever unsure of which colors should go where in whatever particular nook or cranny, I highly suggest visiting their website.
To help me emulate this look, I'll be using these colors:

Vallejo
Army Painter
Not many colors at play here, so that should make this paint job pretty straight forward.

I've started by applying a zenithal highlight to my Iron Man, though you don't have to, any primer will work, however, I find that zenithal priming can help with some of those hard to reach/easy to miss nooks and crannies.
Once it's all dry, it's time for basecoats!
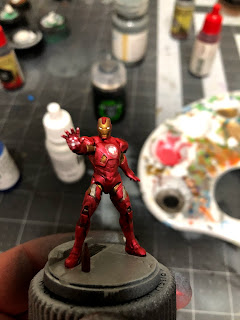
2. Basecoats
So, normally, I always say to thin all your paints with equal parts water, however, we're going to be using mostly metallic paints, and those work best straight out of the bottle.

We're going to start off with our metallic red and paint the armor. Again, just apply the paint directly, do not thin it. Do your best to avoid the circle in his chest for the arc reactor, and the circle for his repulsor blast.
Here's an idea of what the side profile looks like:

And here's the rear view:

Don't be afraid of visiting the Atomic Mass website for reference, as their galleries have a 360 degree view. And if you mess up on anything, you can always paint over it fairly easily with Iron Man.

Next, we'll take our old gold and apply it to all of the gold portions, particularly the arms, the face, and portions of the legs. Once you're done with that, you'll use your plate mail metal to paint the silver portions of the legs on the thighs, lower spine, and the small bits above and behind the knees.
Again, here's the profile:

And here's the rear view:

Next, you'll want to mix up some white with equal parts water.

With that, you'll simply paint a nice, clean white circle on the inside of both the chest and palm.
Once that's all dry, it's time for shades!
3. Shading
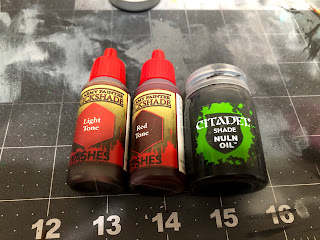
Okay, so you don't HAVE to use as many shades/washes as I'm using today, and you could very easily just apply nuln oil to all of him and be just fine, but I really want the red and gold to be vibrant, so I'm using:

Light Tone and Red Tone by The Army Painter and Nuln Oil by Citadel.
Just like our metallics, our shades and washes are applied directly to the model and not diluted with water.
We'll start off with our red tone, and apply that to all the red portions of the armor. Go slowly, and use your smallest brush, as you don't want to get any red tone on the gold or plate mail metal. I also suggest going section by section (the helmet, then the chest, then the right shoulder, then the left shoulder...) to make sure that you don't miss any sections and everything dries evenly.

After that, you'll take your light tone and apply that to all of the gold portions of the armor. Nothing too complicated, just a thin layer will help add some depth.
When you're finished with that, take your nuln oil and apply a thin layer to all of your plate mail metal portions, and then we wait for it to dry!
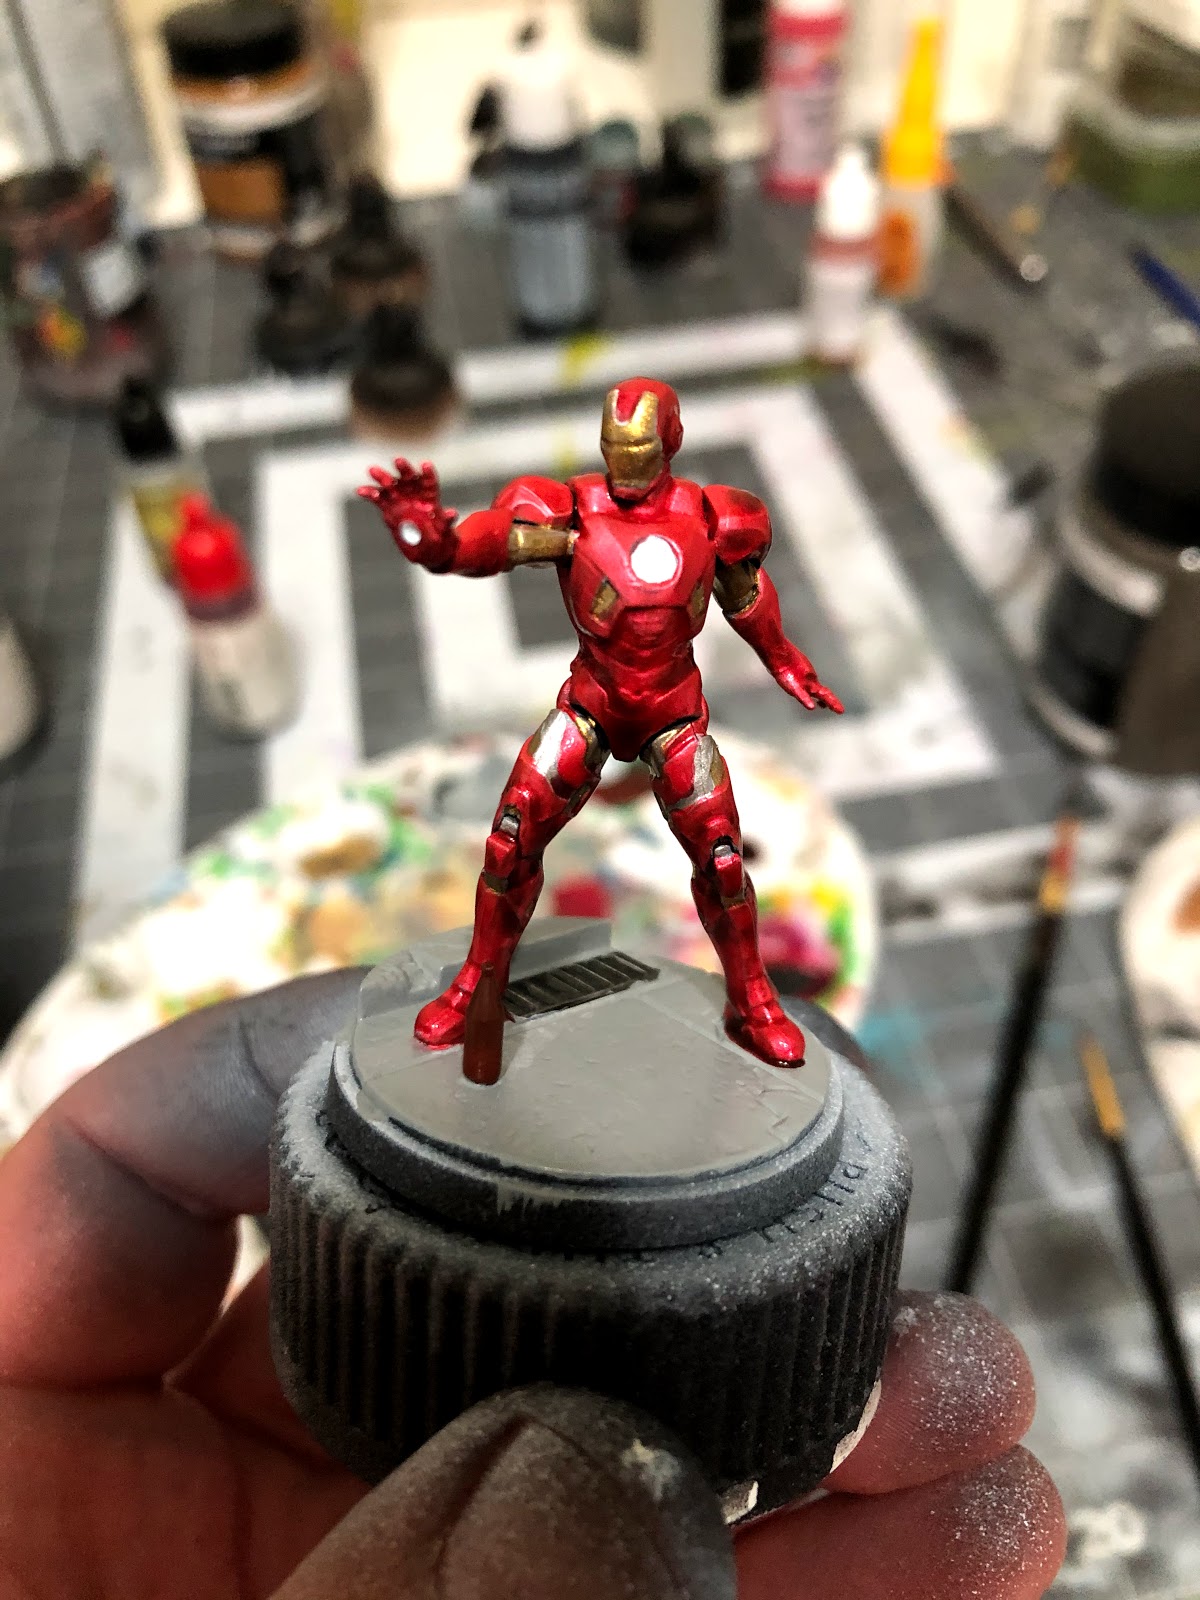
4. Highlights and Finishing Touches

So, the nice thing is that since we're using metallics, we don't really have to highlight, but we are going to be doing some things to make sure that we get that arc reactor in Tony's chest GLOWING.
Take some of your silver and your metallic red and mix them together in a 1/1 ratio. Now, take this mix and paint the area immediately surrounding the circle in his chest, and the areas of the palm that directly surround his blaster, along with the tips of his fingers on that hand and the small circle surrounding the palm cannon itself.

Now, take some pure silver and paint the inner ring of the arc reactor hole, where the white field meets the red armor, along with adding small silver dots to the center of each area of the hand that you previously painted with your red/silver mix. This creates a second level of glow to his hand.

Next, take your white and just clean up what should be white (the center of the arc reactor, the center of the palm cannon) and you can use your smallest brush to dab in some eyes in the helmet.

After you've made the eyes, take some of your silver and apply it it to the areas surrounding the eyes, just the immediate surrounding area. As you can see, this effect is already starting to give the eyes and arc reactor a glowing look.

After that, mix up a 1/10 mix of transparent blue and water (mostly water obviously) to get a SUPER thin glaze. Apply this thinned transparent blue to the hand, the eyes, and the surrounding circle of the arc reactor, leaving the center of his chest white.
You can repeat this process as much as you like to get as intense a blue as you want, just remember that the more you do this, the more the illusion of light glowing from his chest, eyes, and hands starts to go away. Personally, I used 3 coats.

Once you're done with your transparent blue, take your white, and your smallest detail brush, and apply tiny dots of white to the center of the arc reactor, each eye, and the center of the hand cannon. This will help with the light effect illusion.
5. Be a Billionaire, Genius, Playboy Philanthropist!

That's it, True Believers! Spray Tony with your matte spray and get this founding avenger on the battlefield!
Hopefully, you guys have found this helpful, and remember that this, and all of my Marvel: Crisis Protocol tutorials can be found here on my blog. And if you've felt that I've helped you out at all on your tabletop journey, I humbly ask you to consider becoming a Patron. Every dollar really does matter and it all goes towards me being able to provide quality content on a regular basis.
Comments
Post a Comment