Become a Patron!


 |
| by CMON Games |
"I Will Take What is Mine. With Fire and Blood, I Will Take It..."
*SPOILERS* And that's exactly what she did! And for some reason, people were really shocked by that! I mean, let's be real. She doesn't spend eight seasons saying that she'll reclaim the Seven Kingdoms though peace, harmony, and a fair legal system. FIRE AND BLOOD, Y'ALL! Point being: her final season arc was not out of character. Okay, end rant and *END SPOILERS*
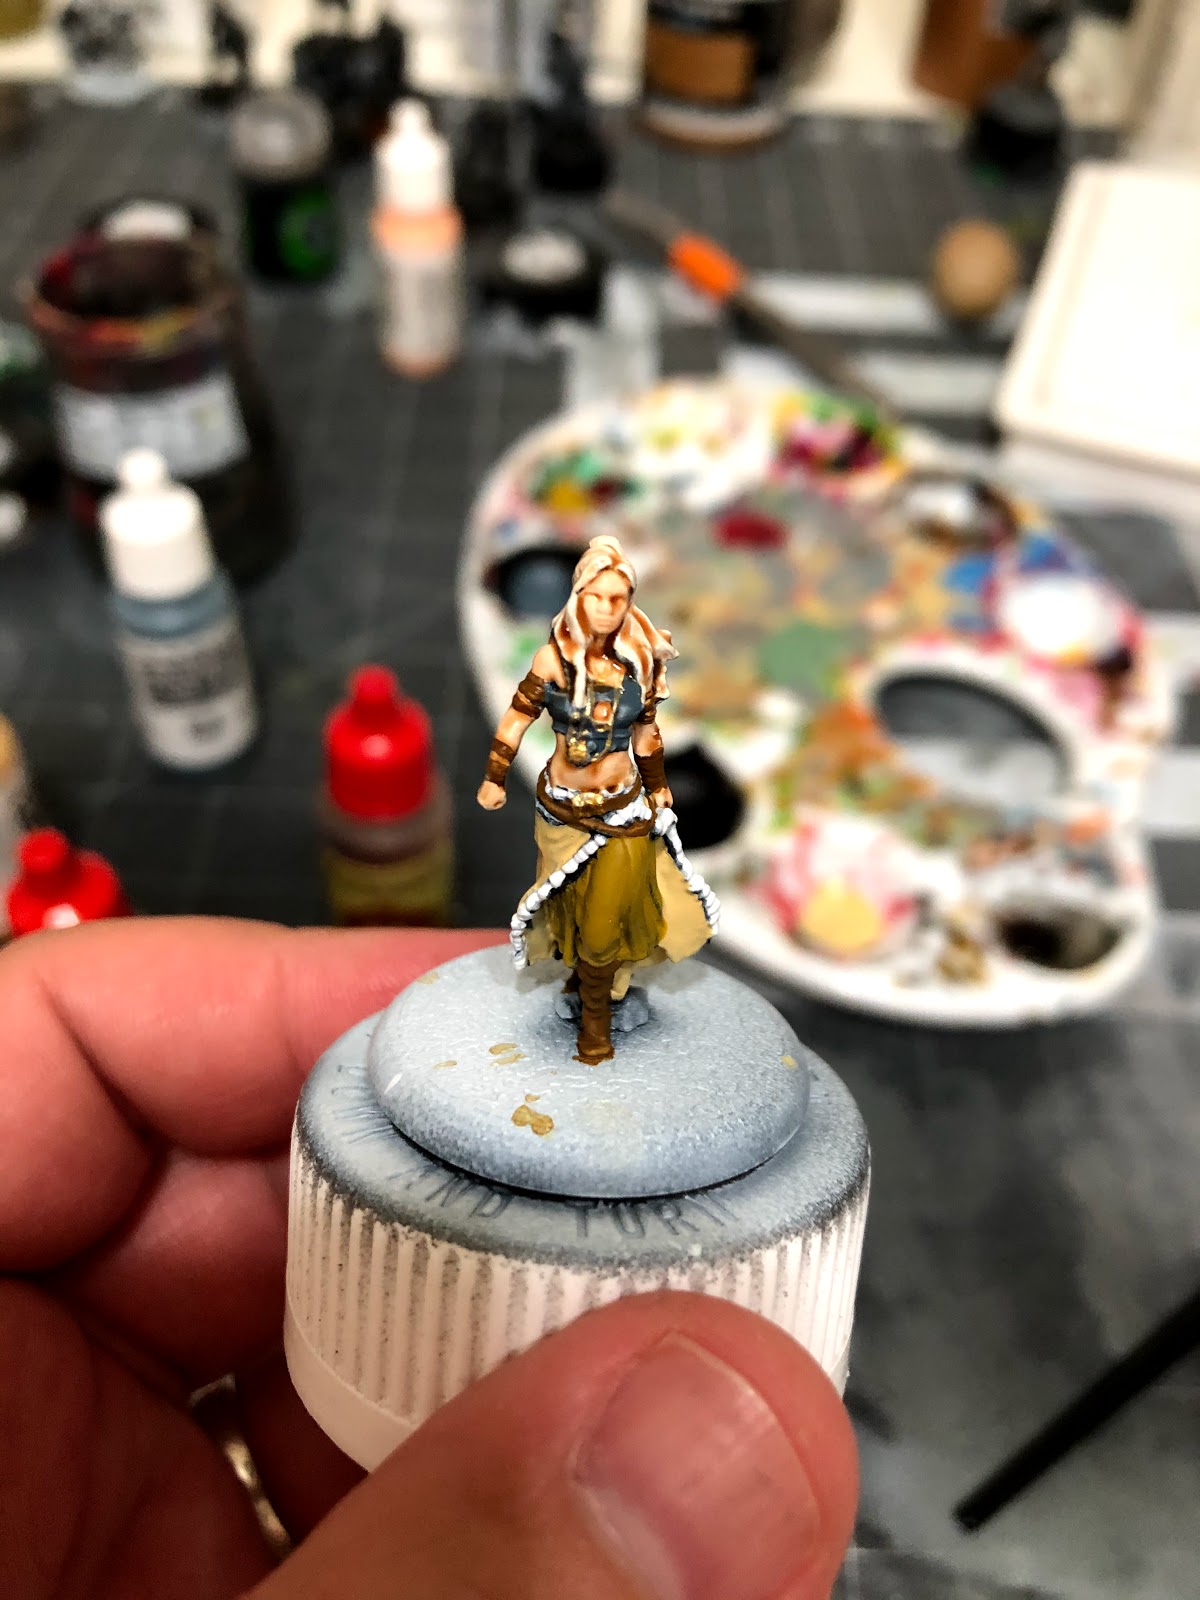
Today, we're painting Khaleesi!

Daenerys (or Ms. Stormborn if you're nasty) is the smallest character in the Targaryen Starter, so make sure you have your detail brush on hand, because there's just not much surface area to paint, so the smaller the brush you can get will help on sections like her arms and hands.
Let's get to it.
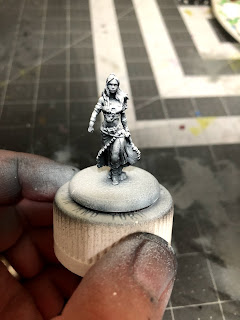
1. Gameplan, Prep, and Prime
Okay, so let's all be honest here. As good as the in-game art for Khaleesi is, we're all just thinking of Emilia Clarke.

I was able to find this image of her in her Khaleesi gear, and it matches up pretty well with the sculpt.
I've assembled the following paints to help create my miniature moon of my life:

Vallejo
Light Flesh, Rose Brown, Dark Sand, Light Brown, Japanese Uniform WWII, Flat Earth, Field Blue, Royal Blue, Gold, White

As you can see, I've started with a zenithal highlight using my Stynylrez Primer and a cheap airbrush in order to give the model some rudimentary highlights, and help make it easier if I end up missing any spots, though you could always just prime white with any rattlecan spray primer.
Once that's all dry, it's time for basecoats!
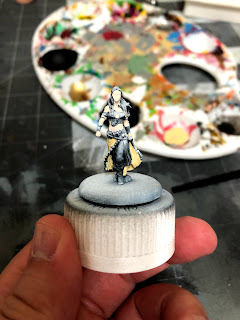
2. Basecoats
Okay, so here's your obligatory reminder to thin all of your paints with equal parts water unless I say otherwise.

We're going to start with our light flesh and use that to paint all of her skin, including her face, hands, arms, stomach and back, along with the little keyhole in her top. You'll probably want to apply 2 coats of this color, just remember to let the first dry completely before you apply the second in order to avoid smudging the paint.
You can also choose a few gaps in the wrappings around her forearms and biceps to paint light flesh as well, which will help give the illusion of them being strips of leather, and not a whole bracer or wrist band.

After that, you'll take your dark sand and paint her skirt, leaving the fur trim unpainted (though if you accidentally paint on it, it's not a big deal. Again, you'll probably want to apply 2 coats of paint here.

Next, we'll take our Japanese Uniform and paint her pants and all those straps that are dangling from her waist surrounding her left leg.

The next thing we'll paint will be her halter top using our field blue. Nothing too fancy here, just try to get an even coat, and if you paint over the keyhole in her top, don't be afraid to repaint it again with your light flesh.

After that, we'll take our flat earth and paint all of the leather of the model. This includes her boots, two belts, and the wraps around her forearms and biceps. Try not to paint over the gaps you've already painted with your light flesh, but if you have to, you can always add them again.

Then take your white and paint Daenerys's hair and the fur grim of her skirt, including the top, near her waist.

The final thing we'll be painting will be her jewelry. Using your gold, unthinned, paint her medallion and all the chains and necklaces she wears. They kind of bunch up around her chest, so try to keep an eye out for the small raised sculpts for each chain, and use the side of your smallest brush to paint those details without getting the gold on her skin or clothing.
Now, just let it dry and move onto shades!
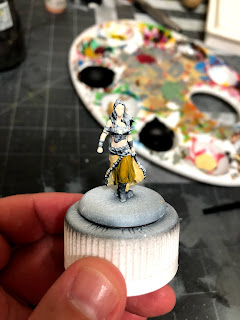
3. Shades
Here's what we're using to add depth:

Light Tone, Flesh Wash, and Strong Tone, all by the Army Painter.

We're going to start off with a thin layer of flesh wash all over her skin. You'll notice that this significantly changes the color the basecoat of skin, and that's okay.
Next, you'll apply the light tone to her hair. Again, this will significantly change the color of her hair, and that's okay.

The last thing we'll be doing is applying strong tone to the rest of her clothing, including her halter top, skirt, pants, boots, and the tiny rock she's pushing off of.
Let all that dry, and then we're ready for highlights!
4. Highlights and Finishing Touches

We're going to start by highlighting her skin using your light flesh. Start with the face and paint her forehead, her nose, cheekbones and chin. Then move to the arms and paint her shoulders and muscles, avoiding where the wash darkened the sculpt the most. You'll also want to highlight the knuckles as much as possible.
For her midriff (I sound like a mid 90's principal), focus on painting her hips and her abs, again avoiding the areas where the wash has darkened it the most i.e. her belly button.

After you're done with her skin, mix together one part royal blue and one part field blue, thinned with equal parts water, and add some blue highlights to her halter top. Just focusing on the the portions that actually catch the light, such as the top of her chest.

When that dries, add one part white to your mix of blues and use that to add a secondary highlight to her halter top. You'll paint over the same portions you painted in the last step, but painting a smaller surface area.
You should also use this color to add a line of highlight running along the bottom edge of the halter and around the back.

After that, take your white and highlight her hair and the fur trim around her skirt. For the hair, hold the model at a bird's eye view and paint what you can see while avoiding particularly dark areas such as the part in her hair. This is a good way to apply some basic highlights before looking at the model from another angle and seeing what else needs to be highlighted.
You can also use this time to paint her eyebrows.

Then take your Japanese uniform and highlight the left thigh of Khaleesi. Just a nice smooth application down the middle of the sculpt is fine. You can also highlight some of the strips that drop down around the leg.

Now, mix one part dark sand and one part Japanese Uniform and add a second level of highlight to the leg by painting the center 50% of the portions that you just highlighted with the Japanese uniform.

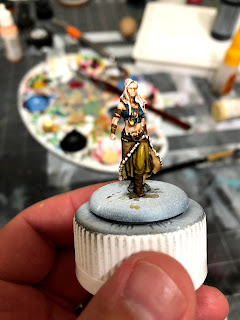
After that, we'll take our dark sand and highlight the skirt. You can see the portions of the skirt that I highlighted back up to add some real depth to the model.

The last thing we'll be highlighting will be the leather using our light brown. Just apply a little bit along the edges of the belts and the ridges in her boots to really make it all pop.

The VERY last thing we'll be adding is not a highlight per se, but we'll be using our rose brown to paint Dany's lips. Just take your smallest brush, and aim for the middle in between the two lips. That should be enough to cover both top and bottom.
I chose this color because it looks like a more natural lip color without her looking like she's got a ton of access to makeup.
5. Answer Injustice with Justice!

That's it, guys! Base her however you like, and get her on the tactics board! Again, hopefully you enjoyed this tutorial, and this along with all of my tutorials can be found on my blog here. And if you are particularly moved to do so, I humbly ask you to consider becoming a Patron. Patron levels start at $1 a month, and every dollar helps me to deliver quality content to you, my readers.
Comments
Post a Comment