Become a Patron!

WARNING: This is NOT an easy mini to paint. This may be the most difficult mini to paint in the Starter Set, and I DO NOT recommend starting with this figure if this would be your first time painting. I suggest something a little easier, like Ultron or Iron Man.


 |
| by Atomic Mass Games |
"When the Mob and the Press and the Whole World Tell You to Move, Your Job is to Plant Yourself Like a Tree Beside the River of Truth and Tell the Whole World, 'No, YOU Move...'"
I'll be honest. Captain America holds a little bit of a special place in my heart. Growing up, I was always into comic books and Star Wars and just general nerdy stuff. My brother... wasn't. He was the consummate cool guy/jock. Played every sport he could and was Mr. Popular.
However...
My brother was hiding the fact that he was a big fan of Captain America. Now, that's not to say that he read the comic books that much or could tell you the lore of Mr. Steve Rogers, but that meant, at SOME point, my brother thought superheroes were cool. And in my mind at least, growing up, that was something that could draw us together, even though we couldn't have been more different at times.

So, true believers, we're taking a look at Captain America.
WARNING: This is NOT an easy mini to paint. This may be the most difficult mini to paint in the Starter Set, and I DO NOT recommend starting with this figure if this would be your first time painting. I suggest something a little easier, like Ultron or Iron Man.
1. Gameplan, Prep, and Prime
I'm going to keep it pretty simple with Cap here. Atomic Mass Games website has a great gallery of him to use as a reference, and I encourage you to visit there if you need to.

Here are the paints that I'm using to replicate this look:

Vallejo
Basic Skin Tone, Light Brown, Flat Earth, Hull Red, Royal Blue, Blue Green, Red, Dark Vermilion, Gunmetal Blue, Metallic Red (Mecha Color), Silver
Army Painter
Citadel

As you can see, I've zenithal primed Cap using my airbrush and the Stynylrez primers. Once it's all dry, it's time for basecoats!
2. Basecoats
Here is your obligatory reminder the always thin your paints with equal parts water, unless I say otherwise.

We're starting off by painting all of the blue portions of his costume with royal blue.

After that, use your red to paint the boots, gloves, and the red strips around his midsection. You can also take this time to paint the circle around the Avengers symbol on his left shoulder.

Don't forget to paint the glove underneath the shield.

Next, we'll take our basic skin tone and paint the skin. Cap's nose, mouth, jaw, neck, and ears as well as his eye sockets.
Don't be afraid to repaint the portions of his mask underneath his eyes on the cheeks in case you paint the skin color on them.

After that, take your white and paint the white arms, the A's on his forehead and shoulders, the wings on the sides of his masks, the star on his chest, and the white strips of his midsection.

Then you'll take your hull red and paint all of the leather portions of the model. This includes his belt and pouches, along with the shoulder straps and harness on his back.
You can also paint the chinstrap this color as well.

After that, take your gunmetal blue, unthinned, and paint the inner circle of the shield.

Next, take your metallic red, unthinned, and paint the red portions of the shield.

The last thing we're going to paint will be the metallic portions of the model. Use your plate mail metal and paint the star, and middle circle of the shield, along with all the buckles on the belts and shoulder straps. This includes the large holster thing on his back.
Once it's all dry, it's time for shades!
3. Shading

We're going to keep it fairly simple in regards to the shades, using Flesh Wash by The Army Painter and Nuln Oil by Citadel.

I suggest starting with the flesh wash and applying it to the face, ears, eyes, and neck. Just a thin layer, and let it dry fully before moving onto the next portion, just for better control.

Once the flesh was is dry, take your nuln oil and apply it to the rest of the model. And I mean the WHOLE model, the shield, the blues, the reds, the whites... ALL OF IT. Just try to avoid the skin since you already used the flesh wash on it.
Let that dry, and it's time for highlights!
4. Highlights and Finishing Touches

We're going to start highlighting with our basic skin tone, and highlighting the nose, top of the ears, and cheekbones.
If you're really feeling nuts, you can even try to highlight the naso-labial folds (the lines between the nose and the cheeks), though that takes a LOT of brush control.

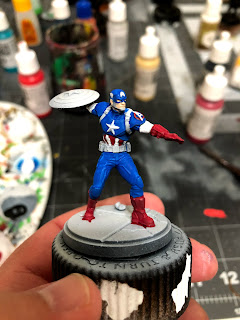
Now, take your royal blue and highlight the blue portions of the model following the green colored sections above as a guide. You should end up with something that looks like of like this:

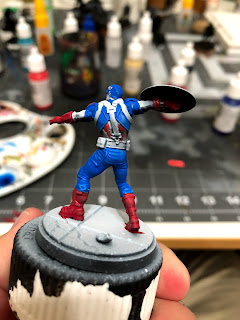
And here's an idea of what the back would look like:

Next, we'll be adding a second level of highlight to really make the blue pop.

Mix together one part blue green into your royal blue and apply additional highlights following the pattern of the yellowed colored sections above.
You should also do this to the back of the model as well, painting the middle 50% of what you'd already highlighted.
It should turn a little like this:

After that, we'll be moving onto the red gloves and boots.

Take your dark vermilion and add a highlight to all the portions that are colored green in the picture above, and just in general wherever the light would hit, such as the heels and calves.

Now take your wild rider red and apply a second level of highlight to the gloves and boots, following the yellow colored sections in the picture above.

You'll also do the same thing for the red stripes, using the dark vermilion on the sections colored green...

And the wild rider red on the portions colored yellow. When you're finished, it should look something like this:

After that, you can use your flat earth to start highlighting the leather straps and pouches. For the pouches, simply highlight the edges and corners.
Now add a second level of highlight to the straps and belts and pouches using your light brown, and following the same principles that we used on the blues and red, painting the middle 50% of what you had previously highlighted.

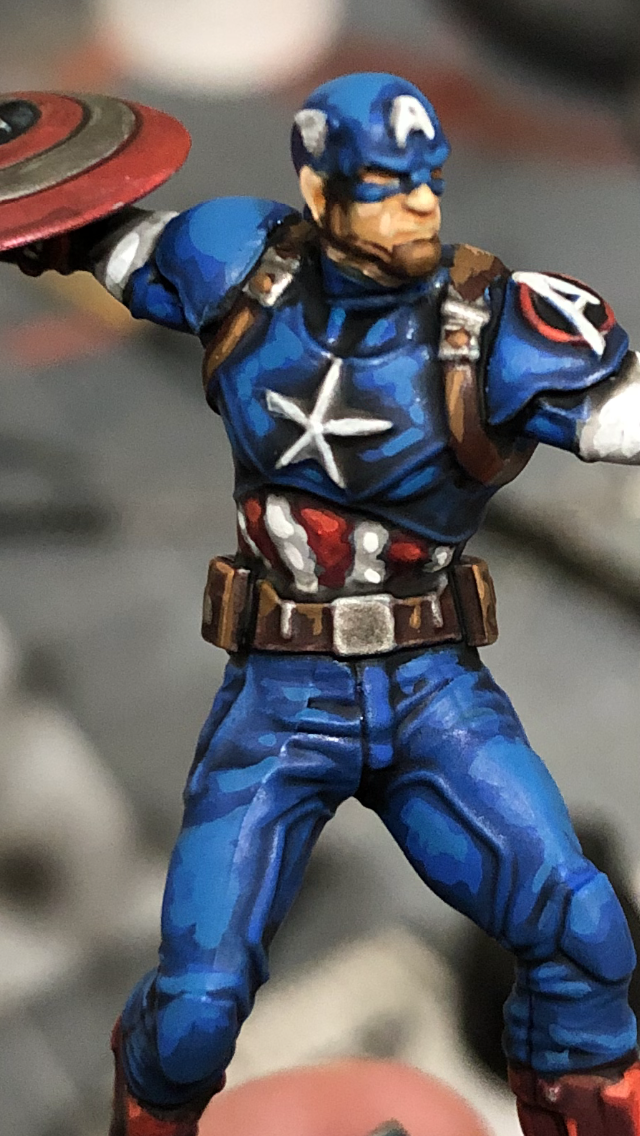
After that, take your white and highlight the biceps and triceps of the arms, along with the white portions of the midsection. Remember to only highlight the portions that are bulging out, and ignore the portions that are darkened most by the wash.
You should also take this time to highlight the wings and the A's on his costume, along with the star. For the star, simply paint the edge of star. That'll be enough to give the illusion.

All of this stuff we're going to work on with the shield is completely optional, but can help make things pop.
Mixing together some silver with your metallic red, you can add a highlight to the red portions of the shield, that looks like a cone, moving to the top and bottom of the shield, getting wider as it gets farther to the outside.
You can also do the same thing with the pure silver on the silver ring of the shield.

Now to add a little weathering effect, take your necron compound and do a VERY slight drybrush over the top of the shield. The more dinged and damaged you'd like it to look, the more necron compound you'll drybrush on.
5. Assemble the Avengers!

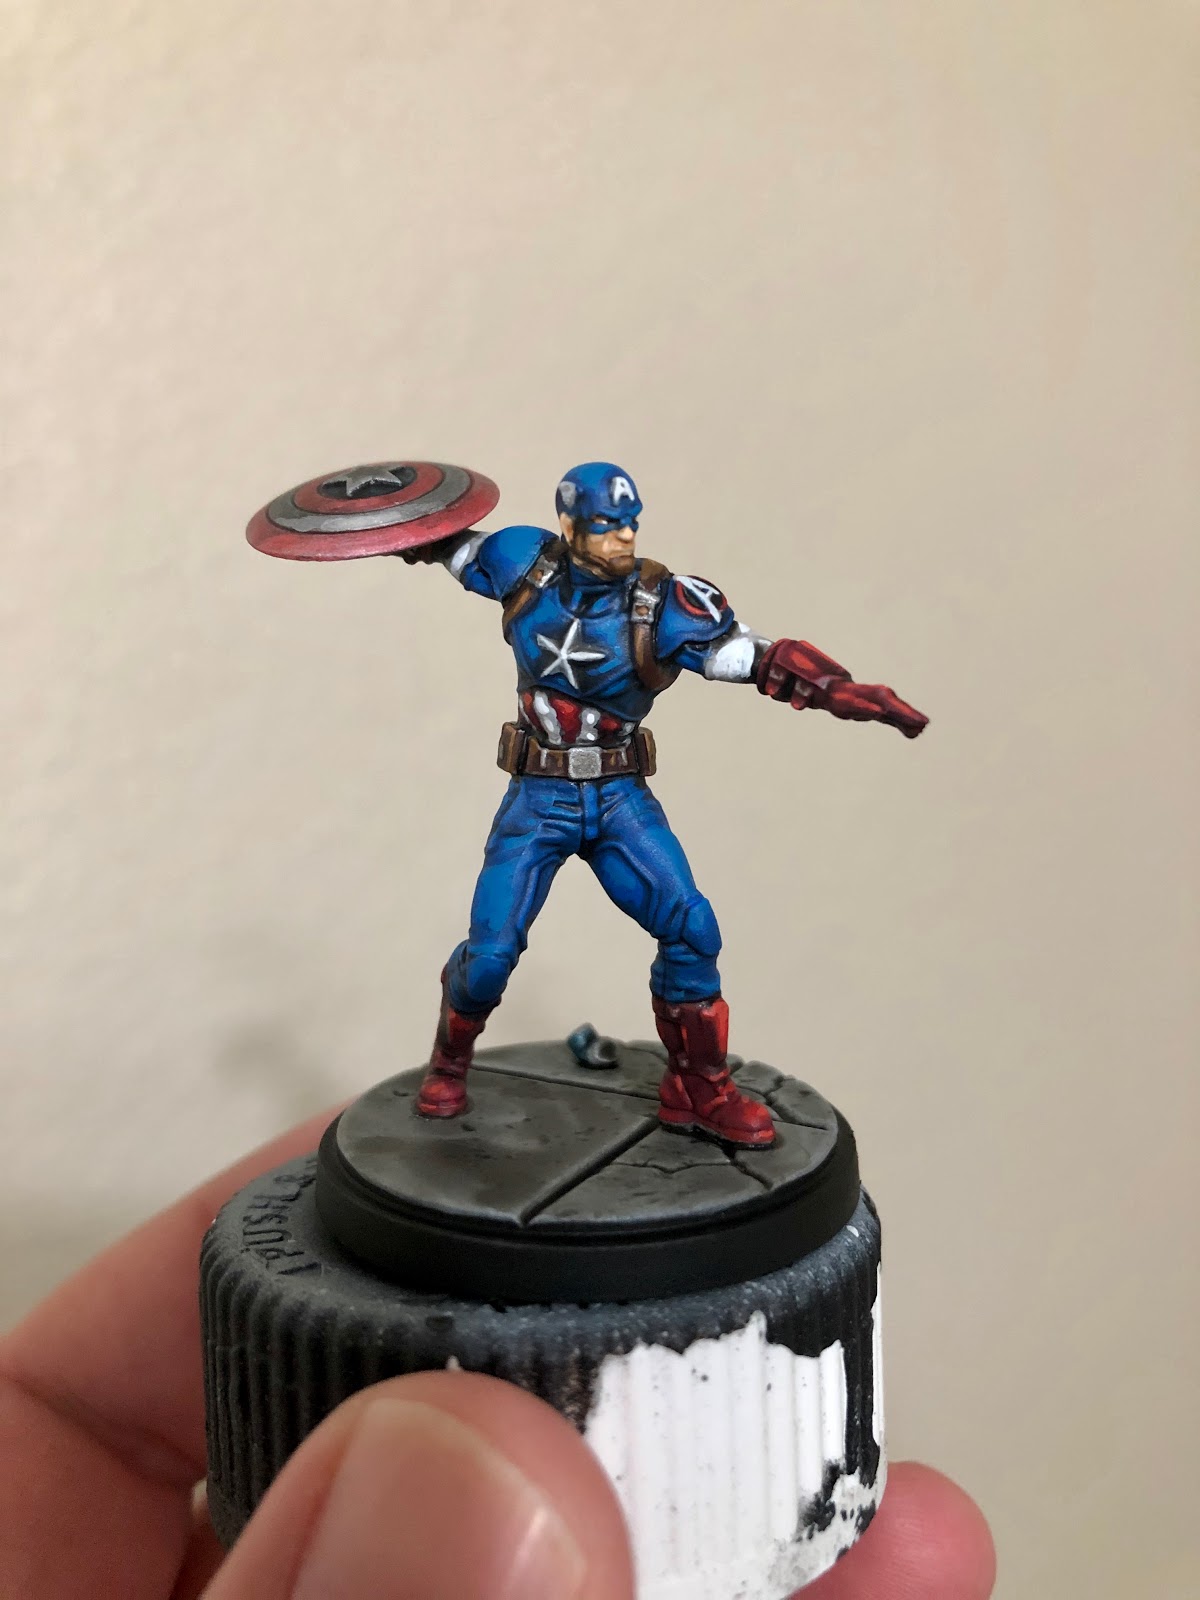
That's pretty much it! You can finish off by dotting in some black and white for the eyes, and then it's time to get this bad boy on the battlefield!
Hopefully you guys all found this helpful, and be sure to check out this, along with all the other Marvel: Crisis Protocol tutorials I have on my blog for future reference. And if you found this, or any of my guides, valuable, I humbly ask you to consider becoming a Patron. It's only $1 a month, and it helps me to provide quality content on a regular basis.
Comments
Post a Comment