Become a Patron!

Regardless, we're taking another step towards completing our Marvel: Crisis Protocol starter by tackling Doc Ock.

Again, if you every are unsure as to which colors go where on your model, the Atomic Mass website has a great gallery for all of their figures.


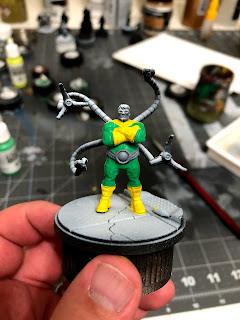
Just like my other Marvel: Crisis Protocol tutorials, I've applied a zenithal highlight to this figure with some Stynylrez primer and my cheap airbrush.

We're going to start with our light green and use that to paint most of his jumpsuit. This is a lighter color, so you might want to apply two coats of this color, just make sure that you let the first coat dry completely before you apply a second.
After that, you'll take your deep yellow and paint the gloves, boots, and the portion of his suit around his shoulders and chest. Again, yellow is VERY difficult to apply, so I suggest applying two coats of this color.

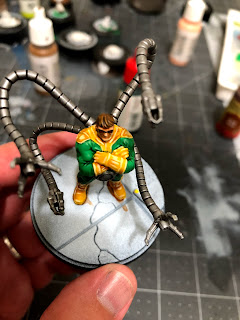
After that, you'll take your plate mail metal, unthinned, and apply it to the robotic arms and chassis.
Again, don't thin it at all, just apply it directly.

Here's what it would look like from the front, including the belt.

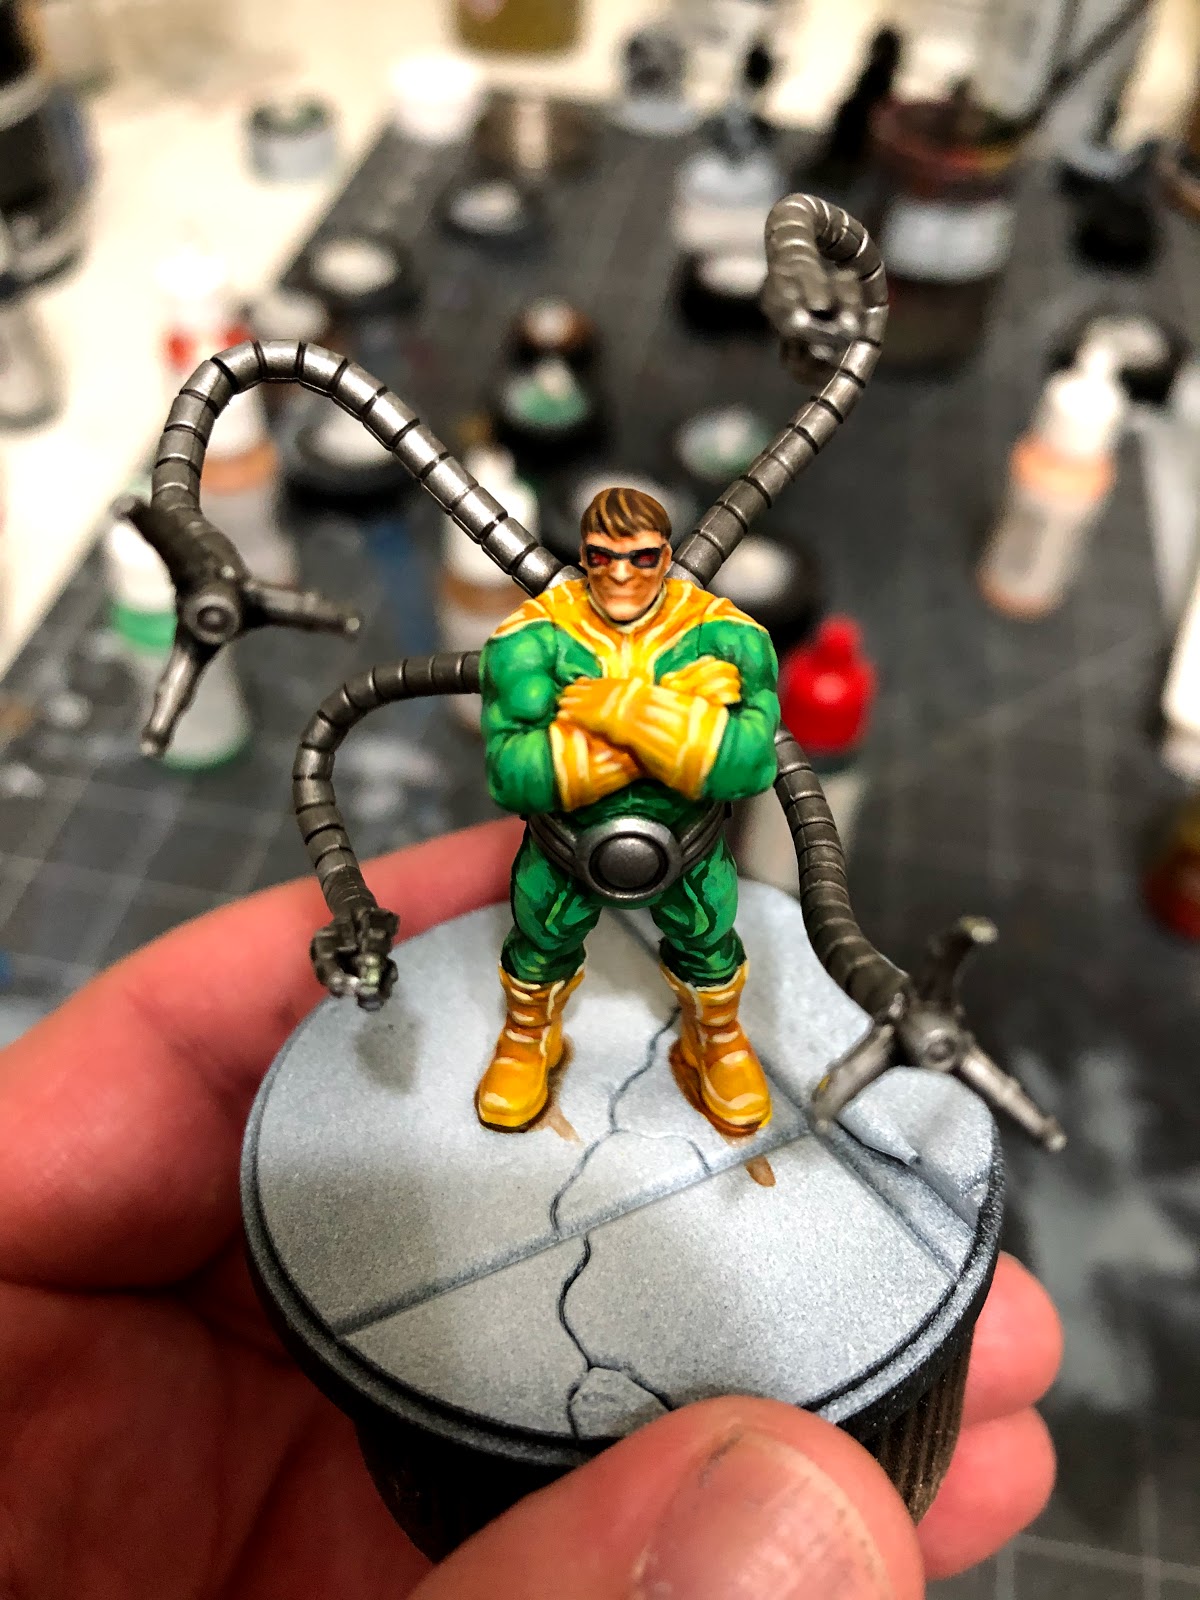
Once you're done with that, move onto painting the face with your basic skin tone. Again, you'll probably want to apply two coats of this color.

After that, you'll want to use your flat earth to paint the hair.

The next thing you'll want to do will be painting the glasses with your german grey. You'll want to use your smallest brush for this, and don't be afraid to repaint the skin in areas that you mess up on.

The last thing you'll do will be to use your dark vermilion to paint the lenses of his glasses.
Once it's all dry, it's time for shades.


 |
| by Atomic Mass Games |
"Intelligence is Not a Privilege. It's a Gift..."
So, I'll be honest. I was never really a fan of today's subject. I mean, a fat, middle aged guy in a bowl cut just never seemed like he should be that much of a threat to Spider-Man. At least until Dan Slott took over, and Otto suddenly became SUPERIOR to all other Spider-Foes.

Regardless, we're taking another step towards completing our Marvel: Crisis Protocol starter by tackling Doc Ock.
1. Gameplan, Prep, and Prime
So, in spite of my love of the Superior Spider-Man, I'm going to be staying fairly traditional in regards to Otto.

Again, if you every are unsure as to which colors go where on your model, the Atomic Mass website has a great gallery for all of their figures.
Now, just like with Hulk and Spider-Man, I'm going to be using some Liquitex Matte Medium to fill in some of the gaps from assembling the model. Just brush it in around any of the gaps (mine were mostly where his boots met his legs) and let it dry.
Once the model's ready, we'll be using these paints:
Once the model's ready, we'll be using these paints:
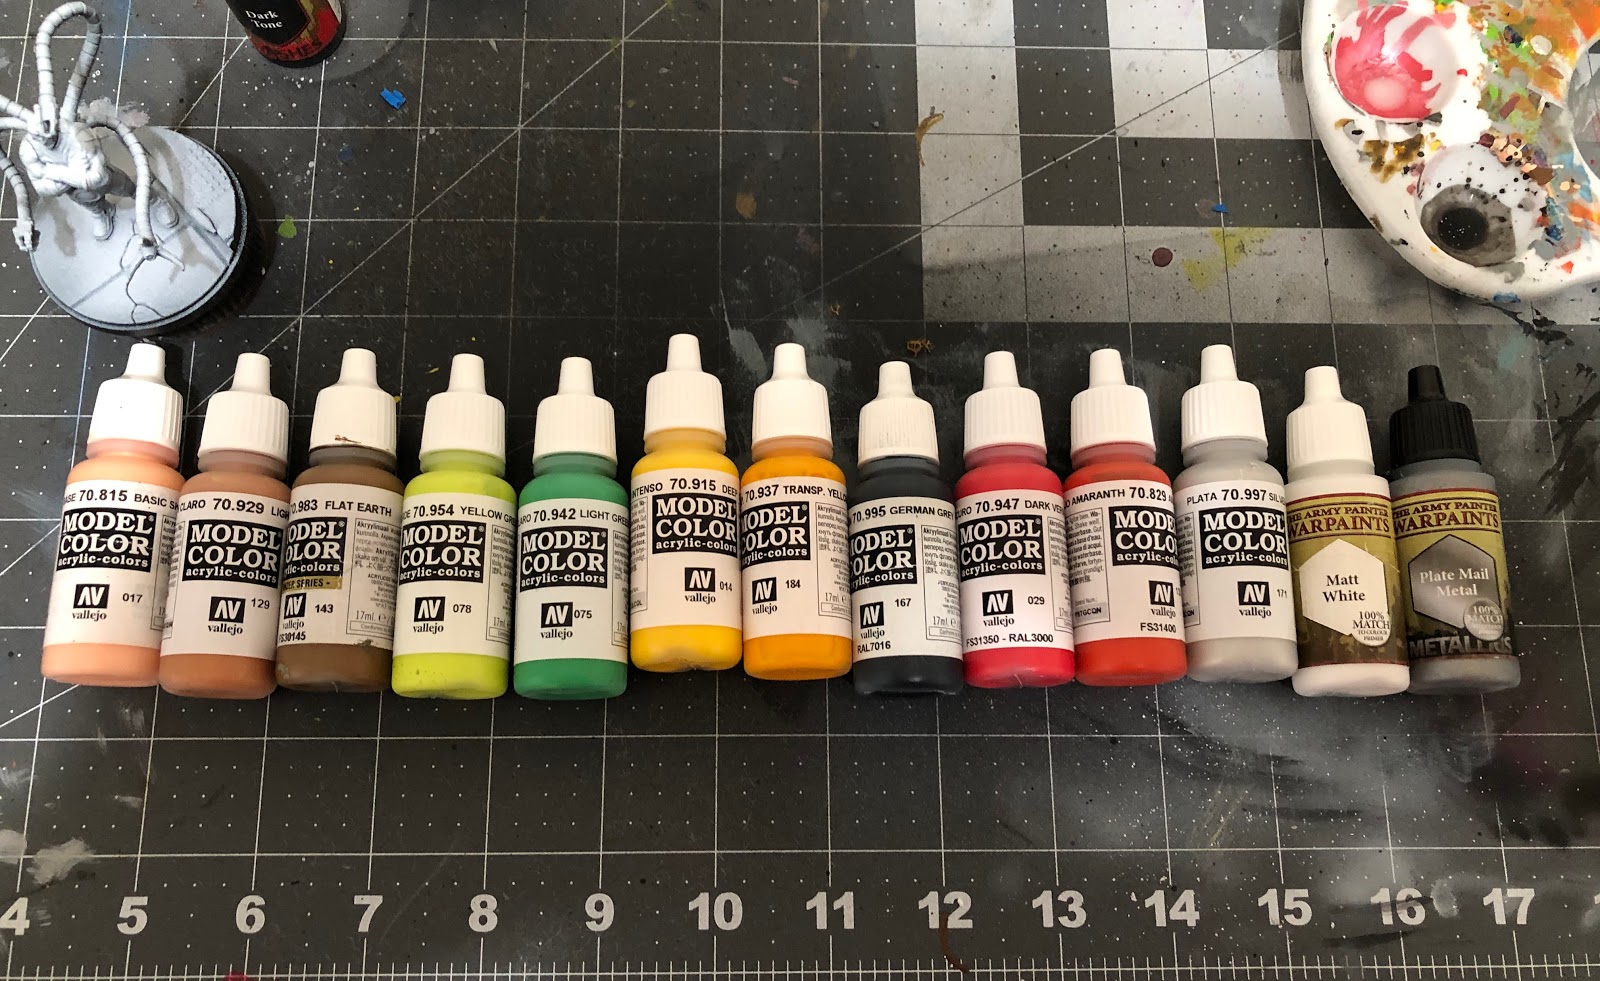
Vallejo
Basic Skin Tone, Light Brown, Flat Earth, Yellow Green, Light Green, Deep Yellow, Transparent Yellow, German Grey, Dark Vermilion, Amaranth Red, Silver
Army Painter

Just like my other Marvel: Crisis Protocol tutorials, I've applied a zenithal highlight to this figure with some Stynylrez primer and my cheap airbrush.
Once it's all dry, it's time to start basecoats!
2. Basecoats
Here is the obligatory reminder to always thin all your paints with equal parts water (or thinner medium if your FANCY) unless I tell you otherwise.

We're going to start with our light green and use that to paint most of his jumpsuit. This is a lighter color, so you might want to apply two coats of this color, just make sure that you let the first coat dry completely before you apply a second.

After that, you'll take your deep yellow and paint the gloves, boots, and the portion of his suit around his shoulders and chest. Again, yellow is VERY difficult to apply, so I suggest applying two coats of this color.

After that, you'll take your plate mail metal, unthinned, and apply it to the robotic arms and chassis.
Again, don't thin it at all, just apply it directly.

Here's what it would look like from the front, including the belt.

Once you're done with that, move onto painting the face with your basic skin tone. Again, you'll probably want to apply two coats of this color.

After that, you'll want to use your flat earth to paint the hair.

The next thing you'll want to do will be painting the glasses with your german grey. You'll want to use your smallest brush for this, and don't be afraid to repaint the skin in areas that you mess up on.

The last thing you'll do will be to use your dark vermilion to paint the lenses of his glasses.
Once it's all dry, it's time for shades.
3. Shades

So, we'll be using Green Tone, Light Tone, and Flesh Wash, all from the Army Painter, along with some Nuln Oil by Citadel.

We're going to start off by applying our light tone to the yellow portions of the model. Just a thin layer of the wash to give the yellow some depth.

After that, apply your green tone to the green portions of Doc Ock's jumpsuit. Again, just a thin layer will work just fine.

Next, we'll apply the flesh wash to the face. Don't worry if you get it on the glasses, it'll look just fine.

Once that's done, apply your nuln oil to all of the metal portions of the figure.

While you still have your nuln oil out, you'll also want to apply a small amount to the hair, as well.
Once that's all dry, it's time for highlights!
4. Highlights and Finishing Touches

So, the first thing we'll be highlighting will be our yellow portions of his costume. Mix together equal parts deep yellow and your matt white, along with equal parts water, and paint all of the line details of the model's gloves and shoulders.
You'll highlight the ridges on his gloves, each finger, the folds in his shoulders, etc.

This gives you an idea of where you can apply the highlights on the boots, essentially each strap, and along the ridges running down the front of each boot.

After that, take your light green and highlight the green portions. You'll want to highlight the portions where the muscles bulge outwards, and avoid the recesses and grooves where the wash darkened it the most.
For his arms, a good idea would be to look at the model from a top down perspective, and apply highlights from that perspective. That way you're not highlighting that would be naturally shaded from his pose.
Next, you'll mix together your yellow green and your light green in a one to one ratio, and we'll be applying a second level of highlights to the portions you've already highlighted, painting only the center 50% of what you had previously highlighted.
This is particularly important for the arms.

Now that we're done with the outfit, you'll want to take your basic skin tone and highlight his face by painting his nose, cheekbones, chin, lower lip, and the bottom outline of his jaw. You can also highlight the portion of forehead over each eye that sticks out between the hair and his glasses.
You can also take this time to highlight his hair with your light brown by painting each individual lock of hair, and using a TEENY TINY bit of amaranth red and dotting each glass lens.

At this point, he looks PRETTY GOOD, but we're going to push the detail a little further by adding a glow effect to the center of his belt like we did with Iron Man's arc reactor.
Take your silver, unthinned, and paint the inner ridge of the large circle in his belt.

Once that's dry, paint the circle itself, along with the inner circles of the two open mechanical claws, with your matte white.

When that is dry, mix together some transparent yellow with about 15 parts water and apply it to the inner white circles, including the ones on his claws. Repeat this with extra layers around the outside of the circle until you get a level of yellow saturation that you're comfortable with.
5. Field Marvel Comics' Most Famous Bowl Cut!

That's it, y'all! Base him however you like, spray him with your matte spray and get him out there acting superior to Spider-Man.
Hopefully, you guys found this helpful, and felt encouraged to pick up a brush and start painting! As a reminder, this and all of my Marvel: Crisis Protocol tutorials can be found on my blog here. And if you were inspired, I humbly ask you to consider becoming a Patron. Even $1 a month helps me to bring you quality content on a regular basis.
Comments
Post a Comment