Become a Patron!


 |
| by Atomic Mass Games |
"Great Power Has Always Baffled Primitive Men..."
So, last week, we took a look at quite possibly the most difficult model to paint in the Marvel: Crisis Protocol Starter: Captain America, and today we're looking at possibly the easiest, who also happens to be Cap's arch rival: the Red Skull.

Let's just jump straight in!

Let's just jump straight in!
1. Gameplan, Prep, and Prime
Okay, so I'm not going to do anything much different than what Atomic Mass has on their website, and again, if you're ever curious about how things are "Supposed" to look, they have great galleries on their site.

I am going to be subbing out the belt buckles for silver, however, because I just think that color goes on easier than gold, but feel free to make any substitutions you like.
Here are the paints I'm using:

Vallejo
Citadel
Army Painter

As you can see, I've already applied a zenithal prime with my airbrush and Stynylrez primers, and remember, if you don't have an airbrush, you can still get this effect with rattlecan primers. Once that's dry, we can start basecoats!
2. Basecoats
We're going to be using a lot of Contrast paints today, and the nice thing is that you don't dilute them at all with water, you just apply them straight from the bottle.

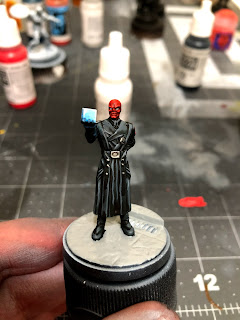
Starting with your black templar, you'll want to paint MOST of the model. His boots, his gloves, pretty much everything but his actual skull/face and cosmic cube.

Once the black is mostly dry, use your blood angels red to paint the skull.
Wait for everything to dry and then take your white, thin it with equal parts water, and paint the cube. Try to get as much of the area between his fingers painted as possible, and be sure to use your smallest brush.

Next, take your dark vermilion, thin it with water, and paint the Hydra symbol on the shoulder. Turning your brush to the side, and using the side to apply the paint can help with this particular detail.

The last thing we'll be basecoating will be the metal buckles and studs on Red Skull's coat with our plate mail metal.
Once it's all dry, it's time to move onto shades!
3. Shading

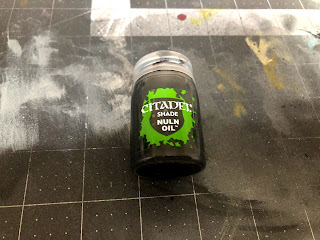
Today, we are just using Nuln Oil by Citadel.

We're just going to apply a little bit to apply some depth to the metal portions of the model...

As well as helping highlight some of the detail of the Hydra symbol.
Once it's dry, it's time for highlights!
4. Highlights and Finishing Touches

The first thing we'll be highlighting will be the face. Use your dark vermilion to paint the cheekbones, nose, chin, and eyebrows... Though, I guess he doesn't have any ACTUAL eye brows...
You can also try to add a little highlight to his lower lip and dab on a few sections of highlight to his upper lip as well, though it can be difficult if your brush control isn't very good.

You'll also want to use this color to paint the top of his skull as well. Apply some top down highlights by holding the model in a bird's eye view and painting the portion of the skull that you can see.

Next you'll take your wild rider red and add second level highlights to all the portions of his face you've already highlighted, but by painting a smaller portion of the surface area you'd already painted, this includes the top of the head.

After that, mix up equal parts of white and your german grey, along with equal parts water, and add a highlight to his robes by painting the edges of all the straps and folds, following all of the lines down, along with painting the lighter portions of his collar, and leaving the darkest portions alone.

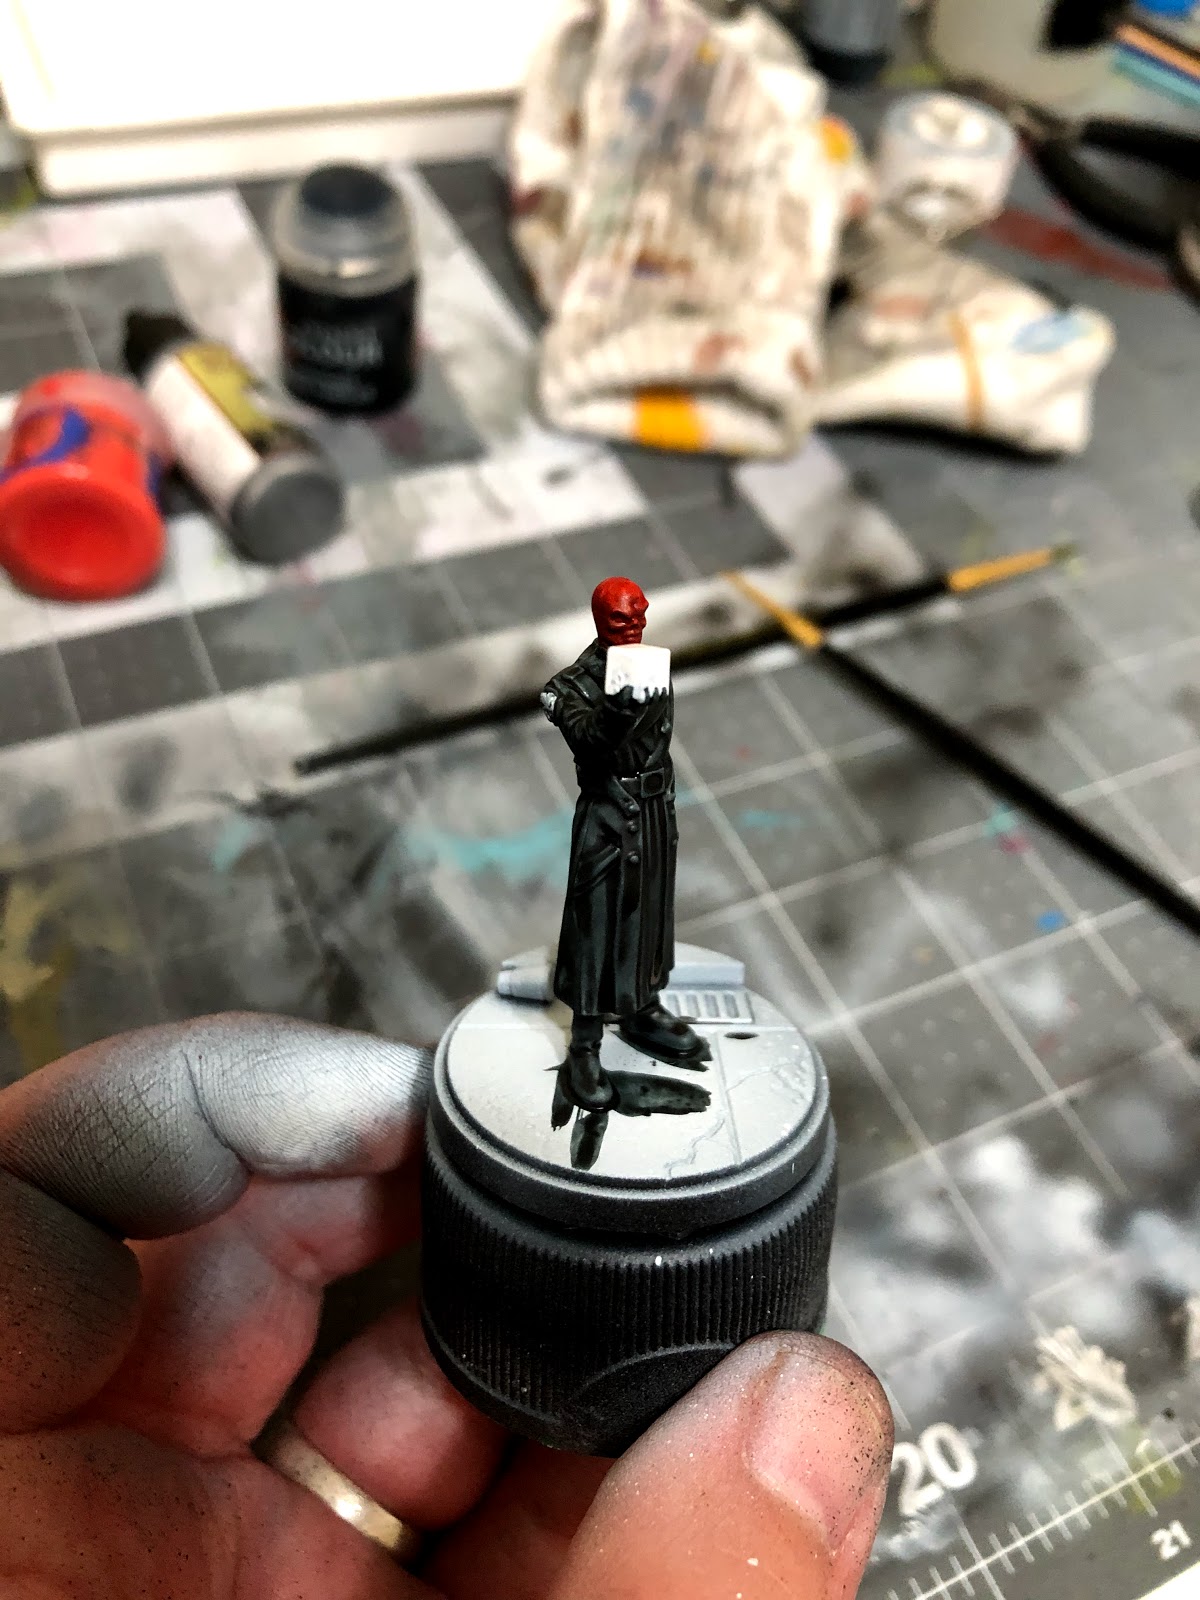
Here's an idea of what the back should look like. Notice, I've also highlighted all of the folds in his sleeve and the back of his collar.

Add in another drop of white to your 50/50 white/german grey mix, and add an additional level of top down highlights to the sleeve of the forearm holding the Tesseract, leaving only the single highlight for his upper right arm. This will help create the glow effect once we color the cube.

Now, make a drop of transparent blue and mix it with about 20 drops of water. Take this VERY watered down mix and apply it to the cube and the top of the arm holding the cube.
Once the first layer is dry, you can repeat this process as much as you like in order to get the level of color coming off of the cube as you want.

When the cube is completely dry, take your white and apply an edge highlight to all of the edges on the cube.
You can also take this time to add the eyes, using your smallest detail brush to make a line of white and then a single dot of german grey.
5. Hail Hydra!

That's it, True Believers! Spray him with your matt spray and get that sucker leading the Cabal!
As always, this tutorial, along with all of my other tutorials will be available on my blog for future reference, and as always, if you feel like this tutorial helped you out, I humbly ask you to consider becoming a Patron. It's only $1 a month, and it truly helps me to produce quality content for you, my readers.
Excelcior!
Excelcior!
Remember to Share, Comment, and Subscribe!
Comments
Post a Comment