Become a Patron!


 |
| by Atomic Mass Games |
"An Empire Toppled By Its Enemies Can Rise Again. But One That Crumbles from Within, That's Dead. Forever..."
So, when I think of Marvel Comics in the 90's, there aren't many good things that come to mind. Save for the X-Men runs of Claremont, Lobdell, and Byrne, mostly I just remember Marvel Comics kind of sucking during the 90's. However, there was one AMAZING thing that came from Marvel 90's comics, and that was The Thunderbolts. They were a group of lovable loser villains posing as a new group of heroes after most of the world's superheroes were declared dead after being transported to a pocket universe created by Mr. Fantastic's son while the Avengers and Fantastic Four battled the sentient psionic offspring of Professor X and Magneto (I'm telling you, the 90's were a weird time for comics). And that new team of heroes/villains was led by one of my favorite Marvel villains of all time, Baron Zemo.

While not the most difficult mini to paint, Baron Zemo has some complicated coloration, but overall is fairly simple. Let's get to it!
1. Gameplan, Prep, and Prime
I am going very traditional with my paint job for Zemo.

Going pretty basic here. Here are the paints that I've assembled to recreate this look.


Going pretty basic here. Here are the paints that I've assembled to recreate this look.

Army Painter
Vallejo
Royal Purple, Violet Red, Rose Brown, Chocolate Brown, Hull Red, Flat Earth, WWII Japanese, Gold, German Grey, White

Just like with Hulk and Spider-Man, you'll want to fill in the gaps with Liquitex Matte Medium before applying a zenithal highlight, and I recommend using Stynylrez Primer.
2. Basecoats
Remember to thin your paints with equal parts water unless I specifically tell you otherwise.

First we're going to start off with our violet red and paint the hood/mask.

Then taking our royal purple and painting the rest of the shirt/torso along with Zemo's hands.

Next, take your hull red and paint the bomber jacket, being careful to avoid the white fur.

After that, mix together equal parts german grey and chocolate brown to paint the pants.

Now take your pure german grey (diluted with equal parts water, of course) and paint the belt and pouches along with the boots.
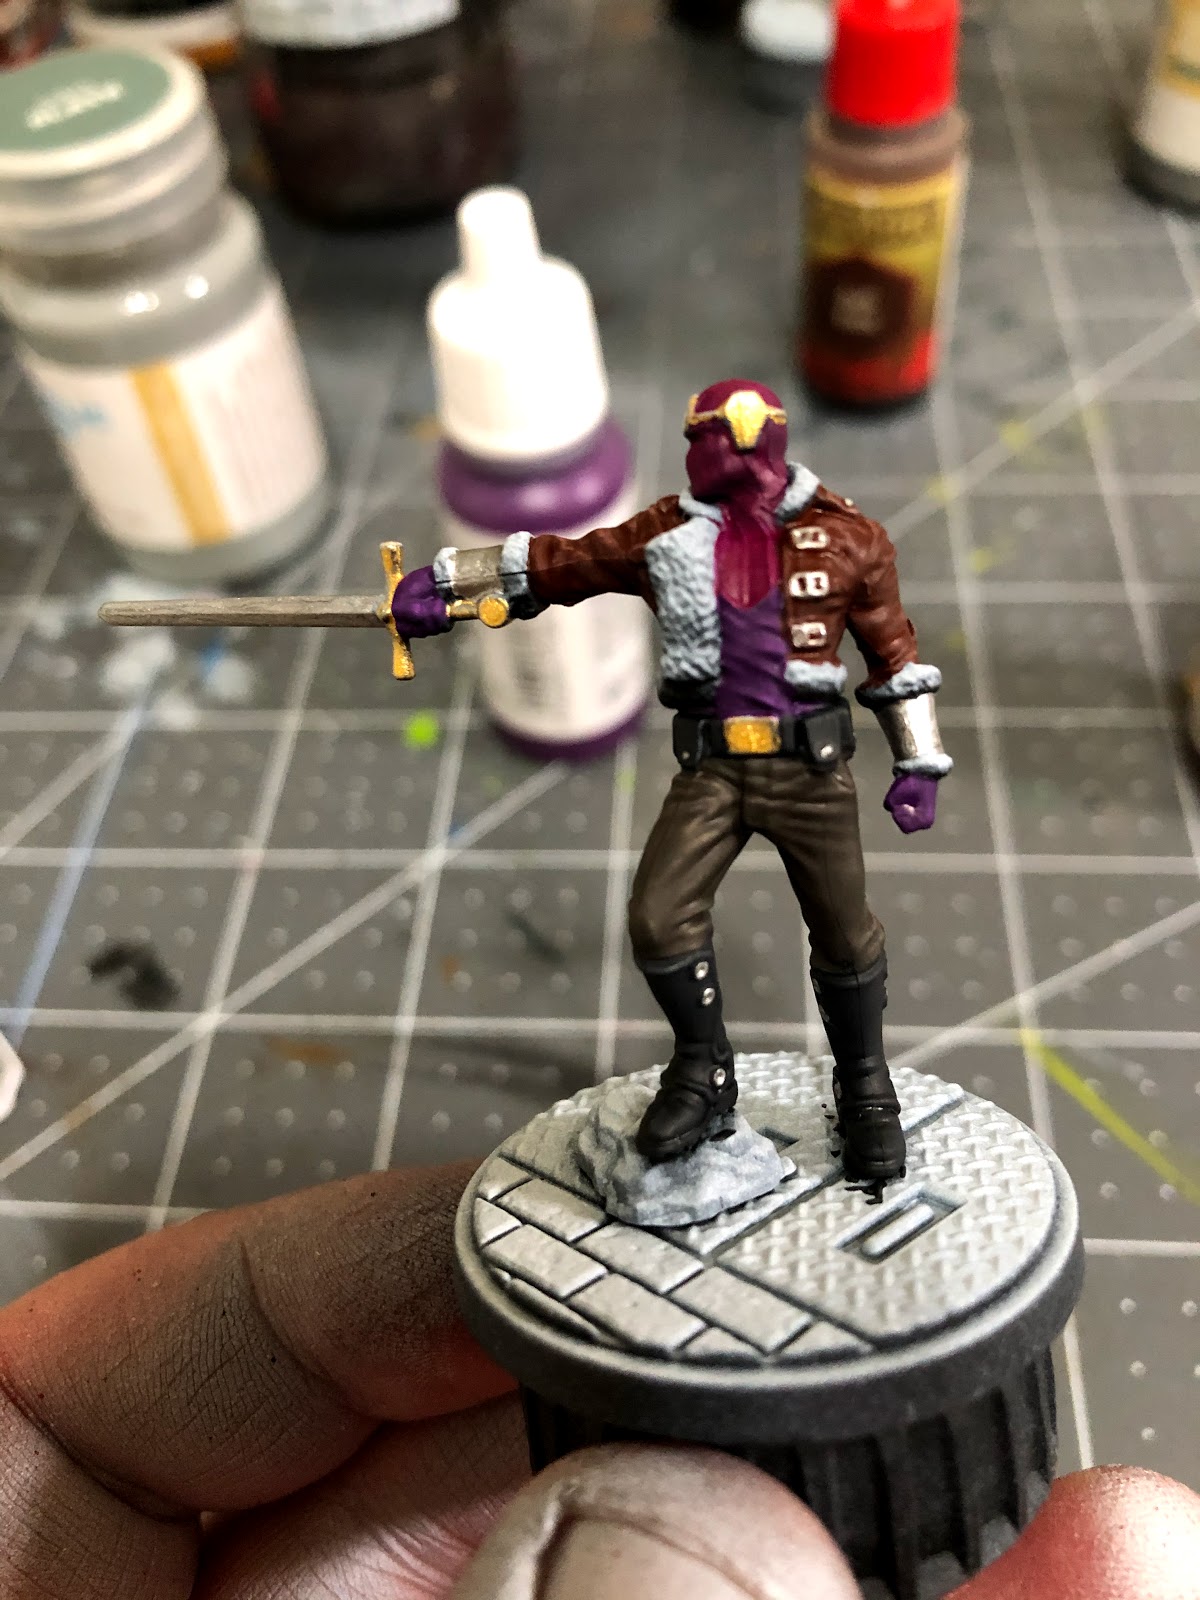
Lastly, we'll paint the metallics using our unthinned gold and plate mail metal. Use the gold for the crown, sword hilt and handle, and belt buckle, while you can use the plate mail metal for the bracers, sword blade, buckles on the jacket, buttons on the pouches, and studs in the side of the boots.
Let that all dry and it's time for shades.
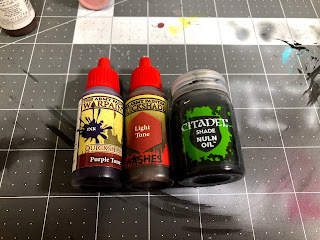
3. Shades

We are using Purple Tone and Light Tone by The Army Painter and Nuln Oil by Citadel.

Start off with your light tone and apply that to the gold portions, such as the belt buckle, crown, and sword handle.

Move onto using purple tone on the mask, making sure not to get any on the crown or fur of the jacket.

Finish it off with some nuln oil over everything else, including the fur, the jacket, the bracers, the sword blade, pants, boots, and even the rock he's standing on.
Let it all dry and then it's time for highlights.
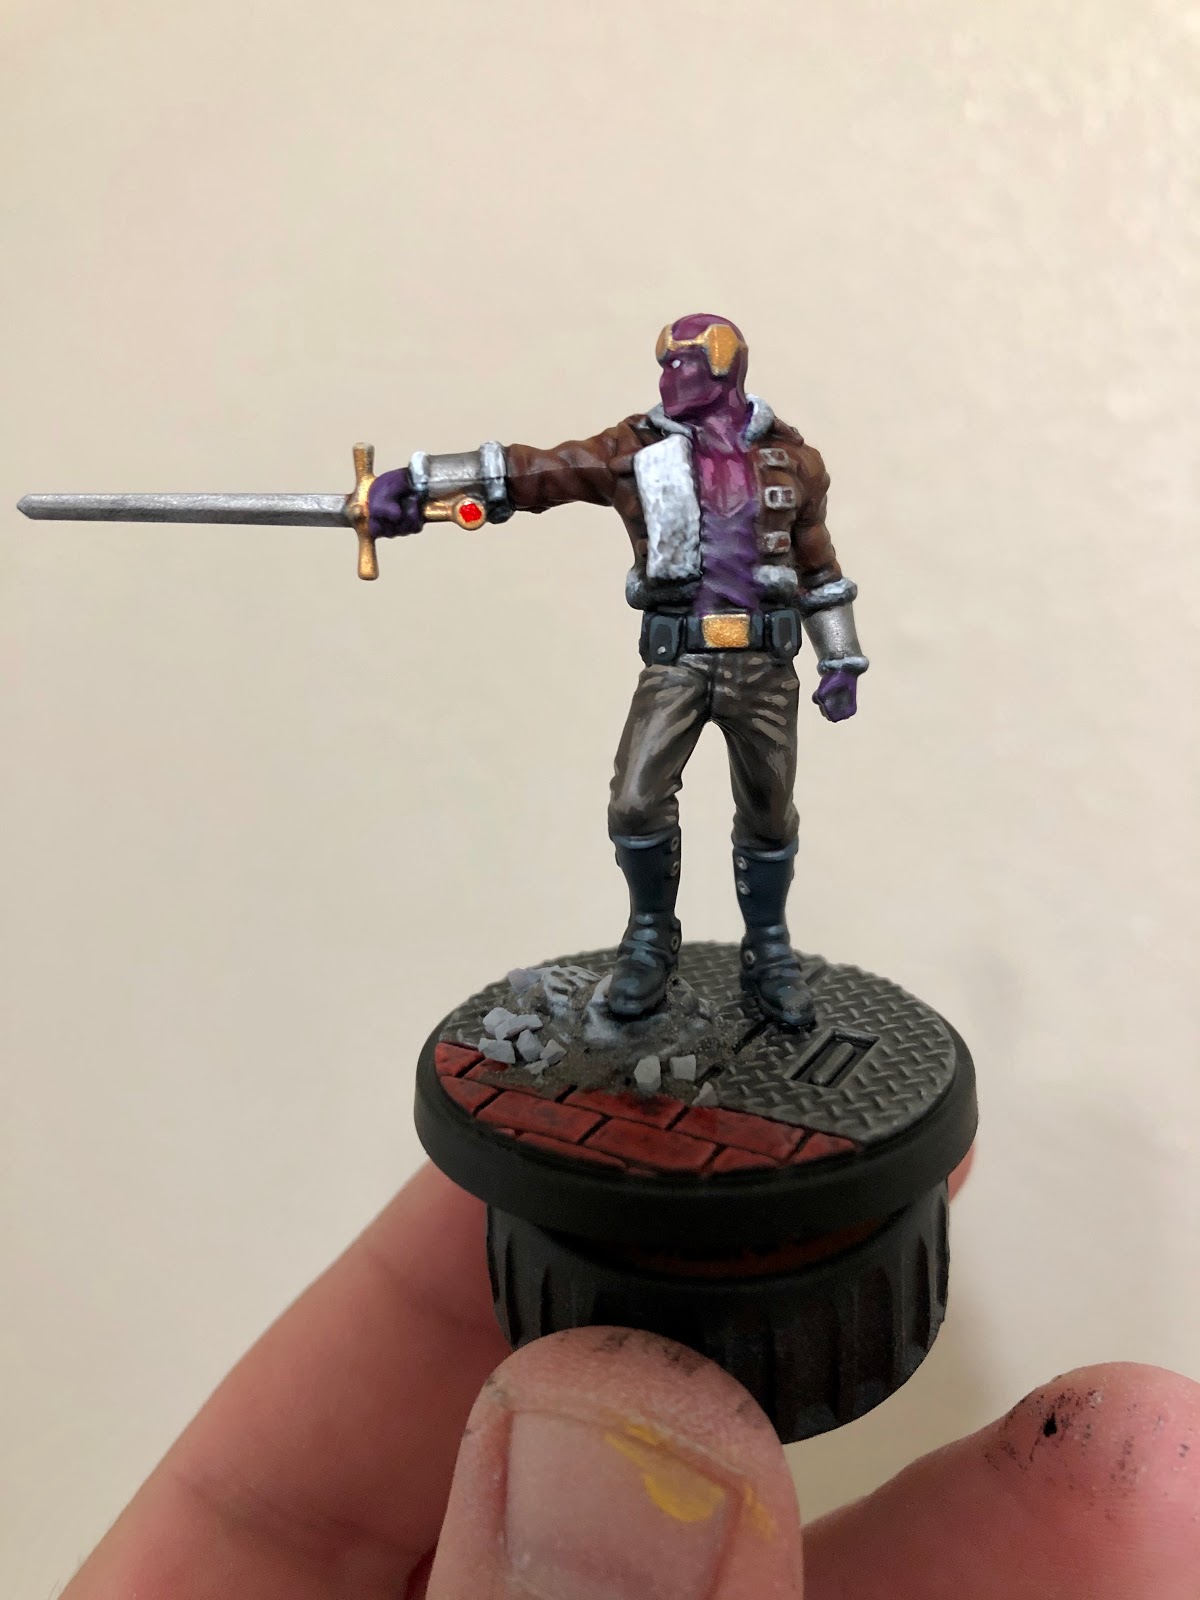
4. Highlights and Finishing Touches

Start off with your violet red and highlight the cheekbones, chin, chest, and the neck muscles, along with the top of his head. An easy way to figure out where to highlight is to focus on the raised portions of the sculpt, and avoid the portions where the wash has darkened it the most.

Now mix in a drop of rose brown with your violet red and add a second level of highlights by painting about 50% of what you previously highlighted with this lighter color. Usually, you want to stay in the middle of the aforementioned highlight.

After that, take your royal purple and highlight his hands and shirt. Highlight each fold in his shirt and each finger/thumb on each hands. Don't forget the knuckles.

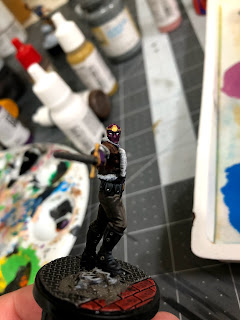
Next, we'll start working on the jacket. Mix in a drop of flat earth with a drop of hull red and highlight the jacket by painting all of the folds. You can get an idea of where to place these highlights by following the green markings in the diagram above.

Then mix in a drop of WWII Japanese into that hull red/flat earth mix and add a second level highlight by following the yellow markings above.

Here's an idea of where to put the highlights in the front of the model, following the same colors for the green and yellow markings. It should turn out something like this:

Onto the pants...

Take your chocolate brown and highlight the pants following the above pattern of green. Essentially, you're painting the folds of the pants, along with the knees/thighs.

Now add a drop of WWII Japanese to your chocolate brown and add a second level of highlight to the yellow areas above.
It should turn out something like:

Mix up a drop of german grey and a drop of white to add some highlights to the boots and pouches. Paint the folds in the boots, along with the trim along the top and side of the boots, and do some edge highlights on the pouches, painting a small line along the top, bottom, and sides, simply highlighting each pouch.
You can also take your white and highlight the fur back up to as bright as you want, but I typically only highlight the fur by looking at the figure from a top-down perspective as that's where the light will hit.

Last thing you'll do will be to take your detail brush and your white and paint the eyes. Turn the brush to the side and use that side to gently mark each eye. If you mess up, don't be afraid of repainting the eyes and starting over.
5. Be a Master of Evil!

That's it, True Believers! Spray him with your matte spray, and if you like the red jewel in the hilt of Zemo's sword, you can use some Tamiya Clear Red to mimic that effect.
Just a reminder that this, along with all of my Marvel: Crisis Protocol tutorials can be found on my blog for future reference, and if you found this helpful at all, I humbly ask you to consider becoming a Patron. Every dollar helps me to bring you quality content such as this on a regular basis.
Comments
Post a Comment