Become a Patron!


"We Are Venom..."
If you were a child of the 90's, there was probably no cooler character in your mind than Venom. To be fair, he is pretty cool. Even though he was created to be an "edgy" foil to Spider-Man, he's carved out quite the niche for himself as villain and anti-hero all at once.

Today, we're going to be tackling on ol' Eddie Brock himself. This is a great model to get some exercise/practice on regarding your highlighting techniques.
I want to take this time to reiterate that I do not think that I'm the best painter in the world. In fact, I consider myself an "OK" painter. However, I am of the mindset that if I can paint and get these results, anyone can, so I like to share my techniques to de-mystify the hobby and get more people involved, because if everyone is Painting Poorly, then everyone's having a good time.
Let's get to it.
1. Gamplan, Prep, and Prime
We are going VERY traditional with Venom's appearance, because you can't beat a classic.

Yes, I could go about this a few different ways. I could drybrush on some greys like I did with Black Panther, or I could even zenithal highlight and use a Contrast Black, however, this is a large miniature and drybrushing wouldn't give me the detail that you want to show off with a mini this size, and I've often said that just using Contrast Paints doesn't give you the results you think they will.
That said, I've assembled a modest collection of paints to see me through this.

Vallejo
Citadel
We're keeping it pretty basic here, but make sure that you fill in any gaps you have from assembling the model BEFORE you prime. I always use Liquitex Matte Medium and simply brush it into the gaps and wait for it to dry.

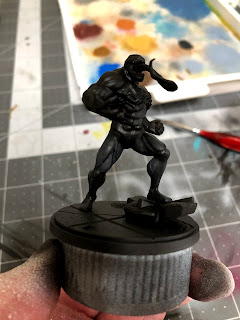
As you can see, I've already primed him black with my airbrush and my Stynylrez primer. Once that's dry, it's time to start painting.
2. Layering
Here's my reminder to always thin your paint with equal parts water unless I tell you otherwise.
Normally, I start with bascoating the miniature with one color, but with Venom, we're doing something a little different.

So, mix together a one to one mix of your black and white and start by highlighting the muscles of Brock, while leaving the areas between the muscles pure black.
In the above picture, I've done this process with the legs, but here's a close up:

You'd follow the pattern of the green portions of the leg, painting only the raised or protruding sections of the muscles, leaving the grooves black. Here's an idea of how to paint the arm:

Take this idea and paint the entire model, including the head, and you should get something that turns out like this:

As you can see, a SLIGHTLY lighter paint job on all the muscles, with a dark black line around each of them.

Now we're going to mix in another drop of white to your previous mix and add a second level of highlight, covering only the center 50% of what you previously painted. In the diagram above, you'd follow the yellow markings to get something like this for the back:

And this for the front:

As you can see, the highlights are really starting to help this miniature come alive and pop.

Last level of highlights on the body! Add another drop of white to your mix and paint an even SMALLER highlight in the center 50% of your PREVIOUS highlight. You can get the right idea by looking at the sections of white in the above picture.

This is an idea of what the arms would look like after this process, and here's a picture of the front:

Make sure that you apply this final level of highlight to the front of the lips and lining the lower jaw and chin.
If you mess up and feel like you've gone too light, you can always tone down a section with some nuln oil.

After that, you'll take your rose brown and paint the tongue and gums. I love this color for tongues (that is something only people who paint miniatures say) but you may have to apply two coats of this to fully cover the black undercoat.
For the gums, just paint a thin line along the jaw. Don't worry about getting on the teeth, we'll be painting over them next.

The last thing we'll be painting at this point will be the white portions, so the eyes, teeth, and spider logo on the front and back. Make sure you use your smallest detail brush on all of these, especially the spindly legs of the logo wrapping around Venom's chest.
Don't be afraid to turn your brush to the side and use that to paint the legs, as you may have more control like that.
Once that's all dry, it's time for shades.
3. Shades
Venom keeps it pretty simple in regards to shades and washes.

We're only using Flesh Wash by The Army Painter and Nuln Oil by Citadel.
Start by applying a layer of flesh wash to Venom's tongue, and mouth in general. You even want to get this on the teeth, as it can help with the illusion of gums, especially on the top teeth.

After that, use your nuln oil and apply a thin layer to the spider logo and eyes. Let it dry, and we're moving to finishing touches.
4. Finishing Touches

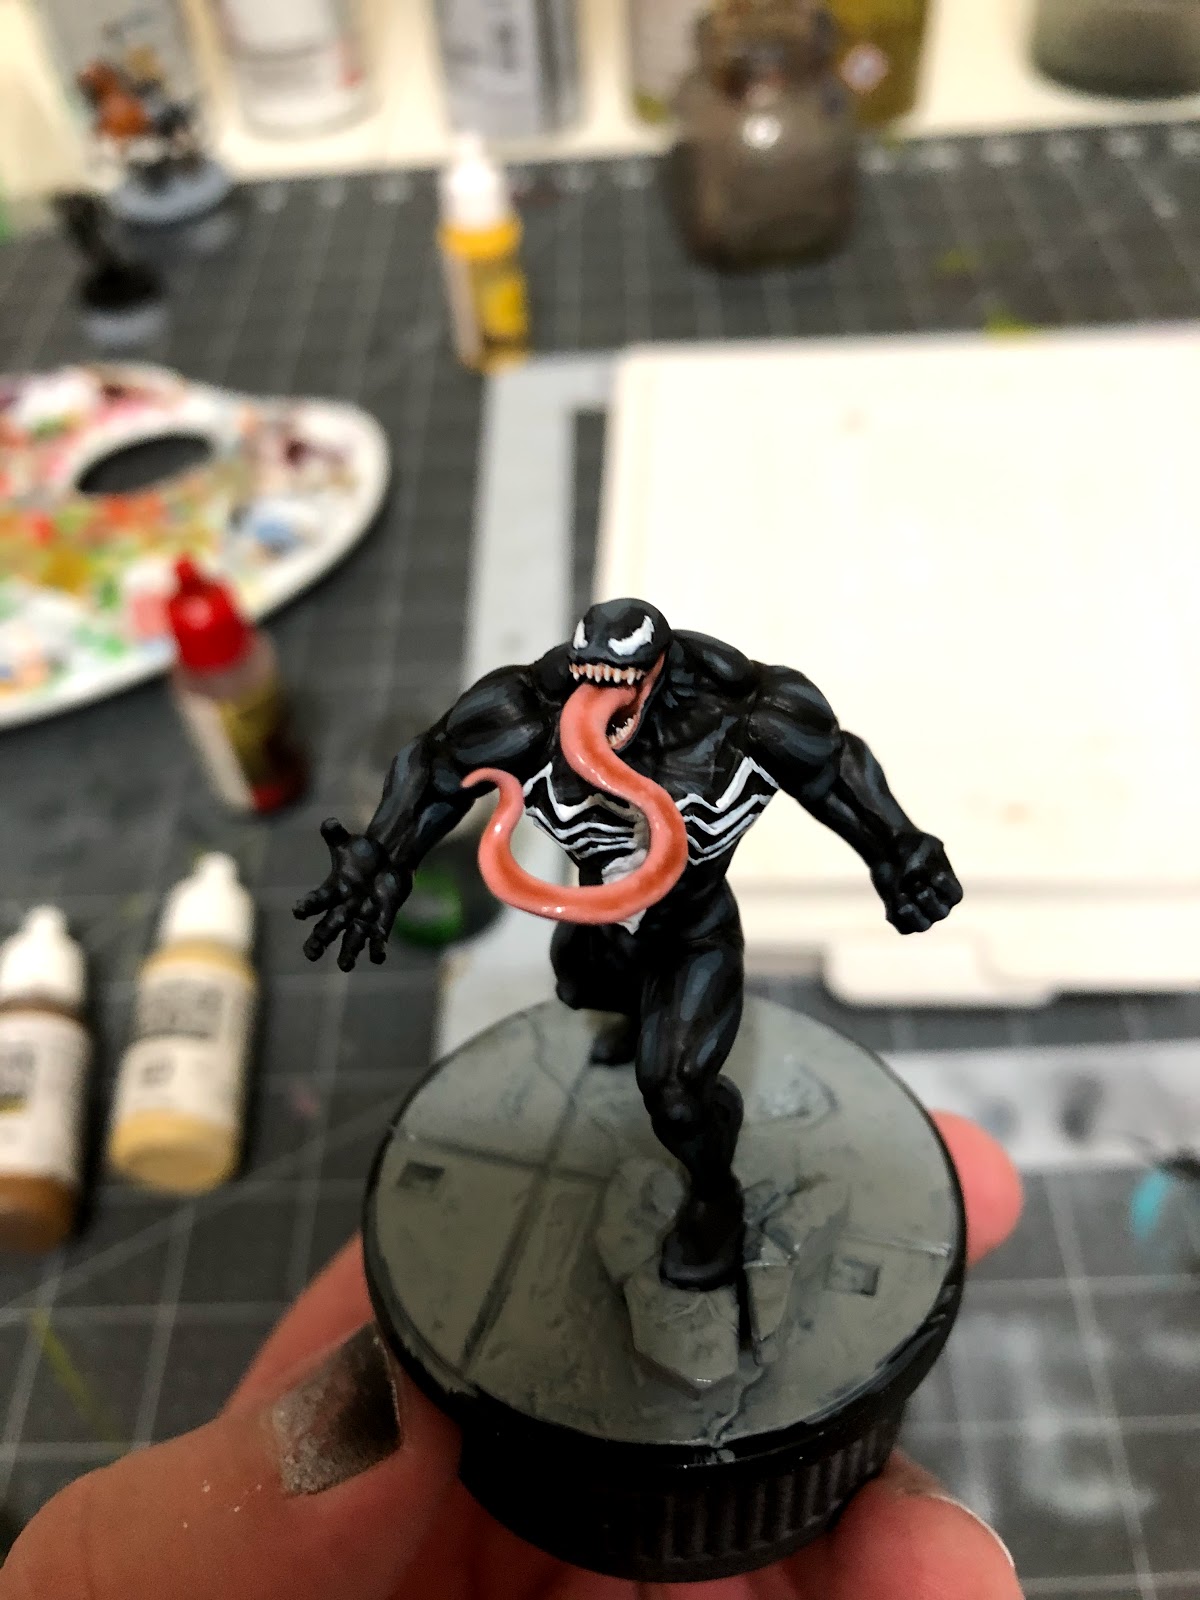
We're going to start with highlighting the tongue. Take you rose brown and mix in some salmon rose, in a roughly one to one mix, and just highlight the edge of the tongue, around there it curves and serpentines. You can get a good idea of what I'm talking about above.
You can also take your smallest, pointiest brush, and apply some random dots of this color to the top of the tongue, to give the illusion of taste buds.

Now, take your white and highlight the spider logo. Start with applying a highlight to each of the abs, just like how you layered up the other muscles, but with only one level of white.
Then you can take your white and highlight up the legs of the spider logo, but only the ones on the front of the chest, leave the portions that creep under his arm pits darkened from the wash.

Here's an idea of how you'd highlight the spider logo in the back. Notice the white highlight around the edge of the bottom of the spider logo, on Venom's lower back.

Next, bring the eyes back up to white by painting the center of them with white. Nothing too fancy here.
For the teeth, you'll want to pick and choose individual teeth and try to paint MOST of the tooth, leaving some of the exposed wash color near the gum line, as this will help create the illusion of gums.
DO NOT simply paint across the row of teeth, as that will cover all of the shades between each tooth and you'll lose all the definition, and Venom will look like Ross from Friends after he whitened his teeth.

The last thing we'll be doing will be adding another drop of white to your black/white mix from earlier, making it the lightest grey you've had so far.

You're going to take this, and just get a little bit on your brush, you can even wipe most of it off and do almost a drybrush, but you'll be painting the veins. Turn your brush to the side, and use the side of the brush to catch the raised sculpting of the veins.
This portion is completely optional, but it can really turn some heads on the table.
5. Be a Lethal Protector!

That's it, True Believers! Hit him with your matt spray, and if you want to add some slime effects to the tongue, you'll use your waywatcher green mixed with equal parts of gloss varnish, and apply liberally!
Hopefully you guys have found this helpful. Remember that this, along with all of my Marvel: Crisis Protocol tutorials can be found on my blog for future reference. If you've felt that this series has helped you at all, I humbly ask that you consider becoming a Patron. Every dollar helps me to bring quality content like this to you on a regular basis.
Excelsior!
This is awesome. Great work
ReplyDelete