Become a Patron!


 |
| by CMON Games |
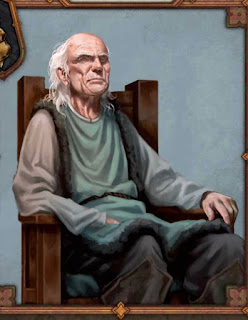
"My King has Married and I Owe My New Queen a Wedding Gift..."
Oh, this &$@#%. He almost made me give up watching Game of Thrones. He 100% made me stop BUYING the show on blu-ray. So, now I've got to paint this old &$@#%. He's lucky he's so good in the game, otherwise, he'd stay bare, unpainted plastic in the Neutral Heroes II Box for all eternity.

He's a crotchety old fart, who presents some unique challenges due to the fact that he's in a chair, but we'll be able to deal with those issues when we prime. Let's get to it!
1. Gameplan, Prep, and Prime
Okay, so I know that Argus Filch played Walder Frey on Game of Thrones, and amazing as he was, his color palette is just too plain and dark for my tastes, so I'll be sticking closely to his card art, but with a few changes to make it pop.

Here are the paints that I've assembled:

Army Painter
Vallejo
Handmade Modern
Slate (standard grey)
Ceramcoat
Black and white
While this may look like a lot, the paint job is actually pretty simple, without a TON of details.

I HIGHLY recommend doing a zenithal prime on Walder. I used my cheapo airbrush and Stynylrez primers. This helps get the hard to reach areas of the figures, such as under the chair and behind his back, while also providing a decently bright enough surface to allow the paint job to pop.
2. Basecoats
Okay, so here is the obligatory reminder to thin all of your paints with equal parts water, unless I tell you otherwise.

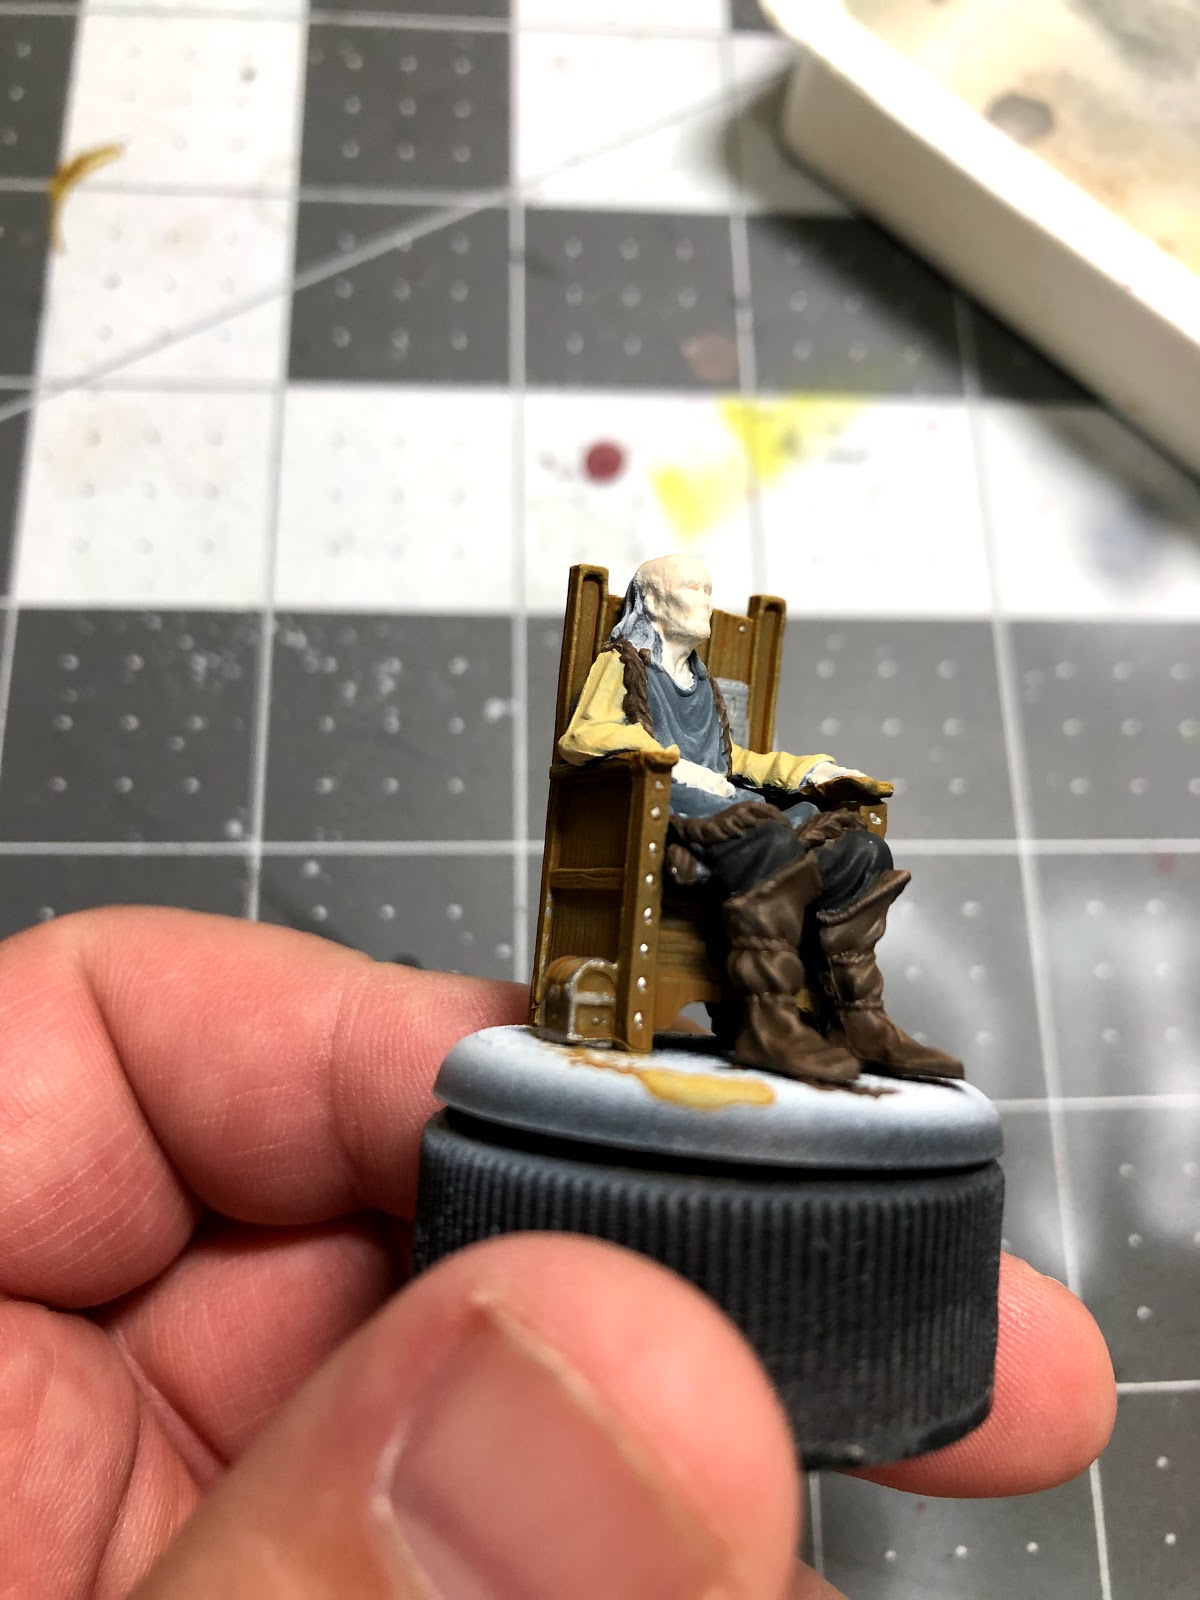
We're going to start off with flat earth and paint the chair and the small treasure chest on the side of the chair. This doesn't have to go on incredibly thick, as the zenithal highlight showing through can have a nice shading effect on the chair.

After that, use your field blue to paint Walder's tunic. This will result in a darker/greyer look than what's in the card art, but I preferred it to the light green.

Next, you'll take your light flesh and paint the face and hands. This may require multiple coats in order to an even layer of the color, just remember to let the first coat dry before applying another.
Once you're done with that, you should take your dark sand and paint the sleeves. Nothing too difficult about this part, but if you're covering up some of the darker colors, like the brown from the chair of the blue of the tunic, you're going have to do multiple coats.

After that, take 1 part black and 1 part white and mix them together with equal parts water and paint the pants.

Next, take your chocolate brown and paint Walder's boots and the fur trim of his tunic. Again, you may want to do multiple coats to make sure you get even coverage.

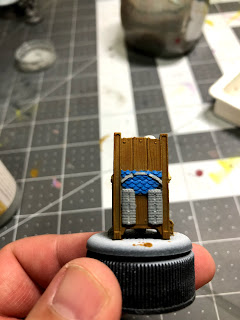
Now it's time to turn the figure around and paint the insignia on the back. We'll first start with the two towers and the bridge between the two, painting them with your standard grey. While you're doing this, you should do the same to the tower that's exposed behind Walder's left shoulder on the front of the chair.

After that you'll paint the water with your royal blue. You might want to use your detail brush to do this so you don't get any blue on the grey you've just painted.
Then, take you plate mail metal, unthinned, and paint the metal portions of the treasure chest along with the metal studs along the front, and the top of the chair, both front and back.

After that, you can touch up some of Walder's hair with some white. Pick and choose some of the more prominent locks of hair and just get a nice strong white over some of those strands.

The very last thing you'll basecoat will be those cool shoelaces that Walder has... Also known as ropes... Yup. He's a sad, old man that uses ropes to hold his shoes up...
Anyway, you'll paint those, along with his "belt" with your dark sand to make them pop against the darker colors of the tunic and shoes. Once that's all dry, it's time to move onto shading.
3. Shading
Not too many today:

We're looking to use strong tone and flesh wash by The Army Painter and nuln oil by Citadel.

The first thing we'll be shading will the skin. Use your flesh wash, just a tiny drop, and apply the wash in a thin layer over the face, hands, and neck. Don't let it pool up too much in one area, especially his neck.

After that, take your strong tone and apply it to all of Walder's clothing. The tunic, the sleeves, the pants, and shoes. Again, you don't want it to pool up too much, especially on the tunic, so just a thin layer will do the job and darken all of the details.

The last thing you'll shade will be the chair and treasure chest using your nuln oil along with his hair. Again, just apply a thin layer over all of the chair, including the insignia, and you'll see the woodgrain really start to show through.
Once that's dry, it's time for highlights!
4. Highlights and Finishing Touches

The first thing you'll want to highlight will be the skin. Use your light flesh to paint the nose, chin, cheekbones, and the top of each finger.
For Walder's forehead, use your detail brush and paint thin lines from left to right across the front of his forehead, working your way backwards, leaving the SLIGHTEST space in between each one. This helps give the illusion of a wrinkled forehead.

The next thing you'll highlight takes a bit of brush control. Using your royal blue and your detail brush, you'll want to paint the middle of each "scallop" of the water on the insignia. Just make a dot in the middle, avoiding the edges where the wash remains darkest.
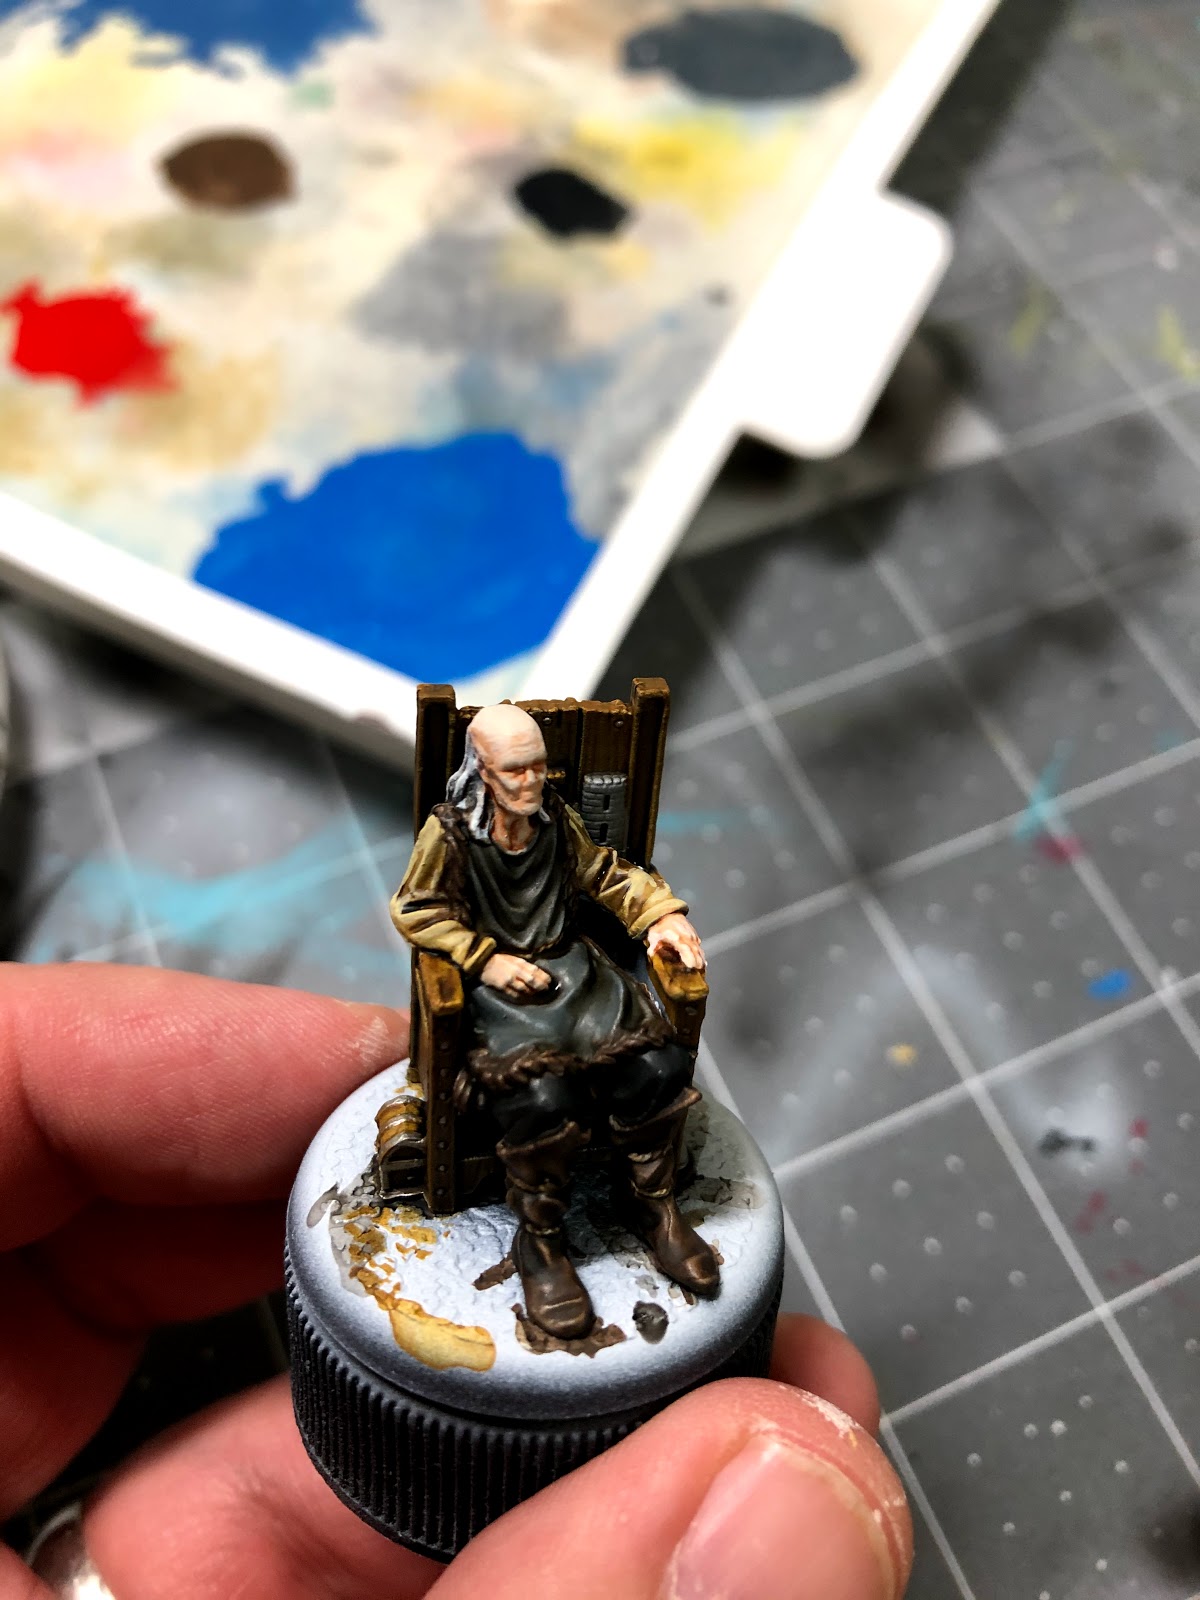
After that, take your dark sand and highlight the sleeves. Just paint each fold in both sleeves where they bunch up.

Now, take your one to one black and white mix and add an additional drop of white to lighten it up just a bit and highlight the legs/knees like you see above. Just the knees and each fold in the pants will do the trick.

Then, take your field blue and highlight the tunic. Paint each fold where it bunches up. If you mess up, you can always apply more strong tone to the area you messed up on and start over.

After that you'll take your fog grey and add a small amount of that as a highlight to the tunic, in the areas you've already highlighted. Just cover the center 50% of what you've previously highlighted, to give the look of a lighter color tunic.

The last highlight we'll add will be on the boots and fur trim of the tunic using our flat earth. Just highlight the tops of the fur, around the shoulders and knees of the trim, and where each boot bulges outward, along with the toe of each boot.
5. Violate the Ancient Laws of Hospitality!

That's it, Westerosi! Spray him with some matt spray, and get him on the tactics board. Hopefully, you've enjoyed this tutorial and found it helpful. If you ever need to refer back for future reference, remember that this, and all of my other A Song of Ice and Fire tutorials can be found on my blog.
If you found any of my entries helpful, please consider becoming a Patron. Every dollar helps me to bring you quality content. And don't forget to check out my tutorials on Marvel: Crisis Protocol, where I paint up classic characters like the Hulk and Spider-Man!
Comments
Post a Comment