Become a Patron!

Let's get to it!


Using our Frankenstein mix from above, you'll paint the tunic. Make sure you pay close attention to where the tunic meets the cloak, as there are small parts of the tunic that are not easily spotted but require paint as well.


Use the tan, again thinned 50/50, to paint the horn, the bottom lining of the kilt, the tiny portion of sleeve that is sticking out from underneath Greatjon's chainmail, and the cross straps on the scabbard.


Using Basic Flesh, highlight the face, specifically the forehead, nose, and cheekbones. You can see in the picture above that I leave the edges of the forehead and cheekbones unhighlighted to keep the depth the wash gave.


 |
| by CMON Games |
"Grey Wind Ate Two of His Fingers, and He Laughed About It..."
Greatjon Umber is such a cool character. He reminds me of that friend of your Dad's who's KIND of a bad influence, but everybody still loves him. So, today on Painting Poorly, we're going to be tackling the fiercely loyal Lord of Last Hearth.
*SPOILERS* It took eight men to capture him at the Red Wedding, but hopefully it won't take you as many hours to paint him, though he is the most complicated figure from A Song of Ice & Fire that we've done so far. *END SPOILERS*
There is A LOT going on with this guy, between various textures and types of armor and straps, to just his color scheme being more complicated than the other figures we've tackled, so be patient, and take your time.
Let's get to it!
1. Gameplan, Prep, and Prime
So, for my gameplan, I'll be trying to replicate the in-game art for the most part, however, even though his time on the HBO series was short lived, Clive Mantle still made QUITE the impact, so I will also be trying to make Greatjon look like this:

While making his armor and clothing have elements of this:

As such, I've gathered the following colors:

Tan, gray, light gray, black and white from Target/the craft store and from Vallejo I chose Basic Flesh, and Gunmetal Grey. Add in some Plate Mail Metal from The Army Painter and we've got most of our paint. You may notice Flat Earth in there from Vallejo, but any brown from a craft store will work as well, as the brown won't really be the focus.
I have also gathered the following colors to Frankenstein together the right color for the tunic:

A dark red from Target, then Orange Brown, Brown Rose, and Flat Earth by Vallejo. The color of the tunic took a few tries to get, but this mixture, in a 1/1/1/1 ratio gave me the results I wanted.

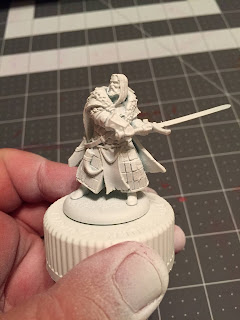
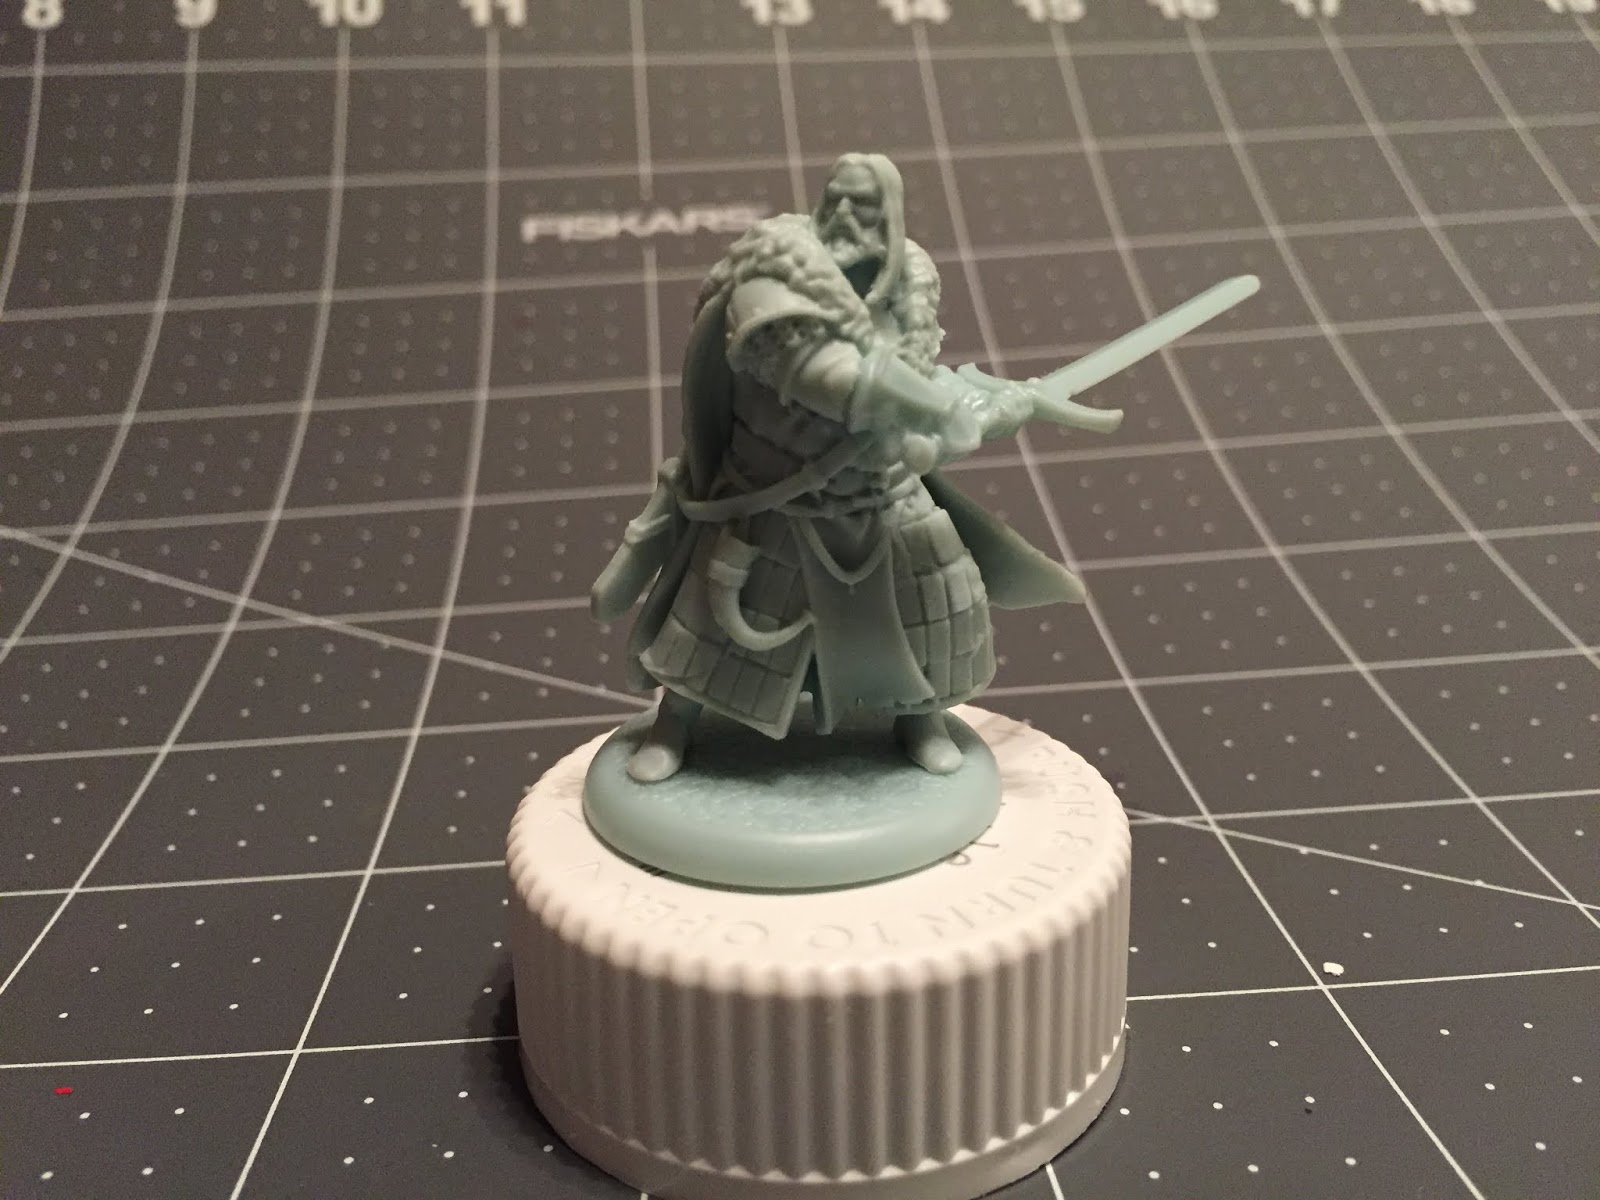
Now, prime with Matt White spray primer by The Army Painter, and you're ready to add some color!
2. The Fur and Cloak
So, normally, I always do basecoats first, and this is no exception, but the first thing we should be doing is the fur and cloak. Start off by covering the entire cloak with a 50/50 mix of black and white that is thinned with equal parts water, just like I describe in the Mountain tutorial.

Once that's dry, instead of moving on to another part of the figure, you'll actually wetbrush on the basic gray, like I describe in my tutorial on Big Figs, but ONLY on the fur. Remember, this is similar to drybrushing, but with more paint on your chisel brush and going across the grain as best as you can, and don't forget to get the fur on the shoulders. We do this now, so that we don't mess any of your other basecoats up. Then you'll move onto a drybrush with your light gray on the fur.

This should give you some depth and multiple levels of highlight early on. You'll need to touch up any parts of the cloak where there is gray from the drybrushing or wetbrushing, and then we'll move on to basecoats.

3. Basecoats


Next, you'll want to paint the upper body armor and parts of the sword with Gunmetal Grey, thinned about 50/50 with water. This includes his pauldrons, bracers, chainmail under the pauldrons, the gorget (upper chest piece), and hilt, handle, and pommel of the sword. Do not be afraid to apply multiple coats, but make sure the first is completely dry before doing so.

Now, we can move onto painting the blade of the sword and splint mail kilt with Plate Mail Metal by the Army Painter. This is one paint you actually shouldn't thin too much. More of a 2/1 paint/water ratio, and if you didn't want to thin it at all, you'd probably be okay, too. The main thing to remember is to get coverage even in the spaces between the metal plates on the kilt. You also want to paint the belt buckles and metal portions of the scabbard strapped to Greatjon's back.

Now, taking your basic brown, thinned 50/50, you'll paint all the leather of the figure: the gloves, the belts, boots, various straps, and the leather portion of the scabbard on the back before moving onto the tan.

Use the tan, again thinned 50/50, to paint the horn, the bottom lining of the kilt, the tiny portion of sleeve that is sticking out from underneath Greatjon's chainmail, and the cross straps on the scabbard.

I used my detail brush as the tan portions are much smaller than the rest of what you've been painting. You may have to go over the tan portions multiple times, as well, as tan can be difficult to work with in order to get good coverage.

Moving on, you can use your standard gray to paint the sleeve in between the tan tunic and glove on each arm, before moving onto painting your face with Basic Flesh.

Make sure you also paint his lip below the moustache. At this point, if you're like me and going for an HBO inspired flavor, you'd touch up the hair with white, covering any portions of it that had dots of color from the cloak or face, but if you'd like to paint it more closely to the in-game art, you'd simply use your detail brush to paint the hair and beard with the same 50/50 black/white mix you used on the cloak.
4. Shading
We'll be using three different washes today, all from The Army Painter: Flesh Wash, Strong Tone, and Dark Tone.

Starting off with just a drizzle of Flesh Wash, use your detail brush hit the forehead, eyes, cheeks, and nose, but be VERY CAREFUL with the lip.

You'll be getting the hair and beard with Strong Tone, so touching the lip isn't really necessary if you don't want to wash it. In general, with the face, you don't want to use much of the Flesh Wash, just a light wipe of it in the right areas.

Next, you move onto using the Dark Tone for the sword. This means the blade, the hilt, the handle, and the pommel. Again, not using a ton of it, just enough to give it a little depth.

Next, we'll use Strong Tone for EVERYTHING ELSE. It doesn't really matter which order you apply the wash, but be aware, THIS WILL CHANGE THE COLOR OF EVERYTHING, so prepare yourself emotionally. Above is the example of what will happen to the hair if you kept it white.

This slight change of color is actually what we WANT though. It gives the fur a blackish/brownish tint, and colors the splint mail kilt and tunic so that the pretty much match the in-game art almost perfectly. Don't be afraid of the coloring the wash creates, EMBRACE IT.
Once that's dry, we move onto highlights.
Once that's dry, we move onto highlights.
5. Highlights and Finishing Touches
So, we've already highlighted the fur (YAY!), and once again, the metallics don't need any highlighting. In general, Greatjon is pretty light on the highlights, so this part shouldn't feel too intimidating.

Starting with his tunic, use your Frankenstein mix to just highlight the folded portions of the tunic, like below the belt or his love handle, and the edges of where it hangs down. Not much to do here.

Using Basic Flesh, highlight the face, specifically the forehead, nose, and cheekbones. You can see in the picture above that I leave the edges of the forehead and cheekbones unhighlighted to keep the depth the wash gave.

Now, we'll highlight up the beard and the hair. You don't want to take away all of the dark brown tint that we gave the hair, so we're going to be thinning our paint here 50/50 with water like normal. You're really just going to be highlighting 80%, leaving the dark brown tint in the part and where the hair starts to meet the skin.

This creates a really nice salt and pepper look for the beard and hair.

Now, you'll want to use your tan to do some top down highlighting of the horn and just a WEE BIT of the tan sleeve. Just pull the paint from the top of the horn to about the halfway mark of the front of the horn to leave the nice gradation of light to dark.
You also want to highlight the tan trim at the bottom of the kilt, and the cross straps on the scabbard.
You can also use this opportunity to highlight the bear claws.

Next, using your standard gray, you'll want to apply some top down highlights to the gray sleeve, mainly just focusing on the folds of the sleeve/elbow.

Don't forget the left elbow, either. You'll paint the curve similarly to how you applied the highlights to the horn, pulling the paint down, leaving a nice gradation from light to dark underneath the elbow.

Now, we move onto the browns. Start off with a top down highlight of your basic browns, applying it to the ridges of the gloves and boots, but that won't be enough to really make the highlights pop. You'll need to mix a 50/50 mix of tan/brown and thin that with equal parts water. Apply this to the top of each individual finger and the toes, and the upturned portion of his left glove, avoiding the darker areas. Also use this on the edge of the leather portion of the scabbard, and the top of each belt. Try to just get a small line at the top of each belt going across Greatjon's body.

Once all that's done, you can go back in and highlight the cloak, though, you don't HAVE to. The highlight effect will be very subtle, but it's effective. Simply take your 50/50 black/white mix and apply it to any portion of the cloak that is billowing outward.

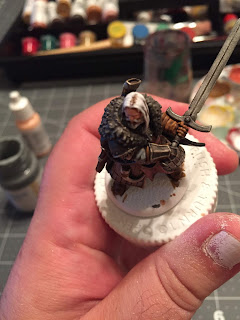
Now, you can add the eyebrows. Using VERY LITTLE of whatever basecoat color you're doing for the hair (HBO white or In-Game black) VERY CAREFULLY hold your detail brush like in the picture above, pulling the brush along the brow. If you mess up, you can always touch up the eye or forehead with more Basic Flesh and Flesh Wash, but it'd be better if you didn't have to.
6. Lead the Vanguard!

There he is. Spray him with your matte spray, base him however you like, and add him to your collection.
For my other tutorials, including the Lannister Commanders, click here.
I hope this has been useful for you! Join us again soon as we keep traveling Westeros...
Excellent blog man -- I appreciate the painting recipe, and patience of delivery. Nice work.
ReplyDelete